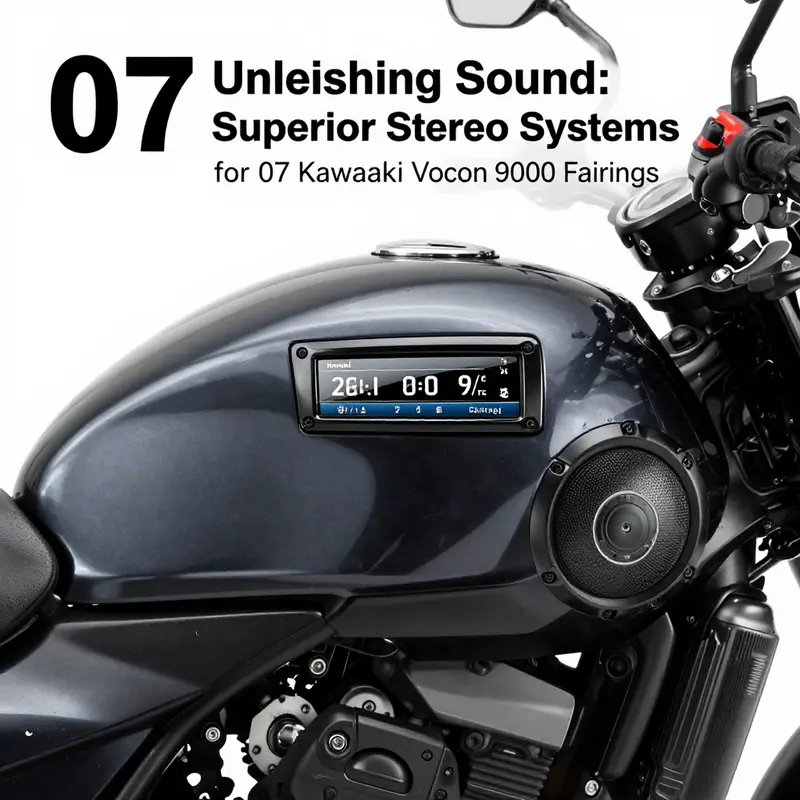
The 2007 Kawasaki Vulcan 900 blends style, power, and comfort, making it a favorite among motorcycle enthusiasts. Enhancing this ride with a premium stereo system specially designed for its fairings not only elevates the riding experience but also caters to the needs of business owners venture into aftermarket upgrades. In this guide, we will delve deep into various compatible stereo systems, installation options, performance insights, market trends, and customization tips. Each chapter will contribute to an overall understanding of how to select and implement the best audio solutions for the Vulcan 900’s fairings.
null
null
Fairing-Mounted Stereo Fitment for the 2007 Vulcan 900: Practical Installation Paths and Accessories
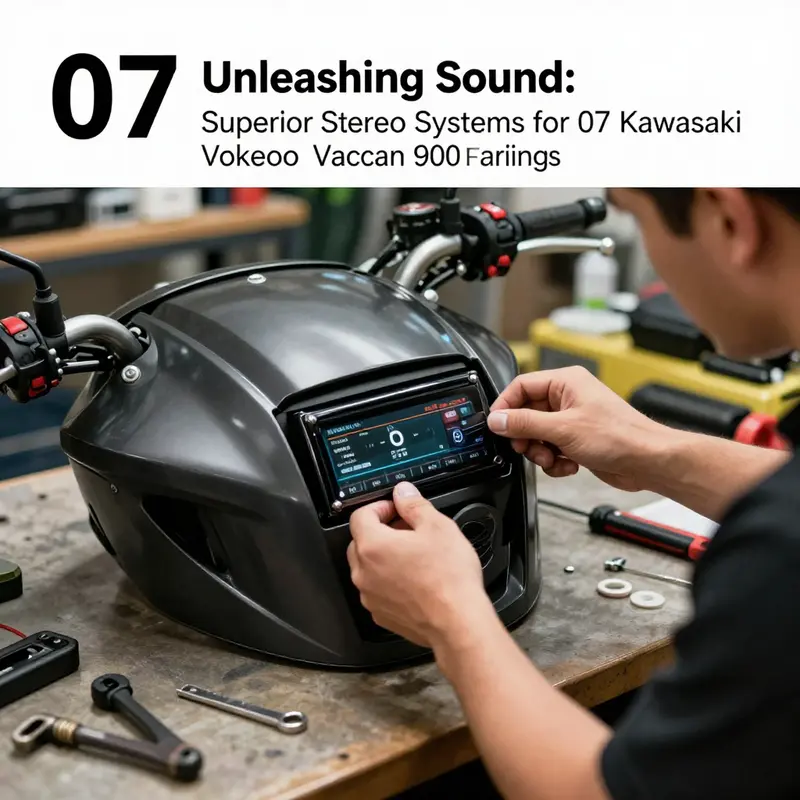
Choosing and installing a stereo system for a 2007 Kawasaki Vulcan 900 with a fairing requires balancing aesthetics, weather resistance, sound quality and electrical reliability. Riders who want audio integrated into a batwing-style fairing face different trade-offs than those who prefer handlebar or tank-mounted solutions. This chapter walks through the realistic installation routes, the accessories that make them work, and the installation details that separate a satisfying result from a frustrating one.
Start by deciding where the speakers and core electronics will live. The most visually cohesive option is to integrate speakers directly into the fairing itself. This approach hides hardware, preserves the bike’s lines and uses the fairing as a forward-facing acoustic baffle. When handled well, it yields clear midrange and vocal presence at highway speeds. Integration means cutting and reinforcing speaker openings, installing waterproof speaker pods low in the fairing to reduce wind exposure, and adding internal mounting plates to isolate vibration. Because fairing shells vary, choose speakers sized to the available cutout—many batwing fairings accept 4–5¼-inch drivers. Smaller coaxial speakers can work, but larger, well-mounted components deliver fuller sound.
A second common path is to mount a compact sound module and speakers using independent brackets. Bracket systems attach to the handlebars, triple tree, or a custom crossbar in the fairing cavity. They offer flexibility and make maintenance easier because components are more accessible. However, exposed brackets can compromise the fairing’s look and increase wind noise if not faired properly. For riders who switch bikes or want a reversible install, this modular route is attractive. Use fully lined brackets and vibration-isolating hardware to prevent rattle and premature failure under constant engine vibration.
A hybrid approach places the amplifier and source module in a protected compartment under the seat or behind the fairing, while the speakers sit in the fairing openings. This reduces the need for long, exposed runs of sensitive signal cables and keeps weight distributed low. It also simplifies power delivery—run a fused, high-gauge power feed from the battery to the amp location and a short power run to the speaker outputs. Wherever the electronics live, plan for heat dissipation; amplifiers can run hot when clipped at highway levels, so use ventilated enclosures or mount components behind metal brackets that can act as heat sinks.
Weatherproofing and vibration control are the two non-negotiable details. Marine-grade or weather-resistant speakers prevent salt and rain from killing voice coils and crossovers. Use sealed speaker grills and silicone gaskets at every body penetration. For vibration, add closed-cell foam pads between speakers and fairing to absorb energy and improve frequency response. Consider self-adhesive damping sheets inside the fairing to minimize panel resonance and sharpen bass response. Corrosion-resistant hardware—stainless or zinc-plated fasteners—extends system life, especially if the bike is ridden in wet climates.
Powering the system properly protects the bike’s electrical system and ensures consistent audio performance. A dedicated power feed with an inline fuse sized to the amplifier’s draw is essential. Many installs benefit from a relay controlled by the key or ignition output, so the audio system powers only when the bike is on. For low-power setups, a switched accessory circuit can suffice, but verify the bike’s charging output and battery capacity to avoid draining the battery. If you plan long idling sessions or high-volume riding, consider upgrading the charging system or using a battery with higher reserve capacity.
Cabling choices matter. Run speaker wiring inside the fairing whenever possible, routing it away from hot exhaust runs and sharp edges. Use marine- or automotive-grade, tinned-copper wire with heat-shrinked, crimped connections at every joint. For electrical noise control, keep power and signal cables separated, and add a ground loop isolator if hum appears. Quick-disconnects for the speaker leads make fairing removal easier for service or winter storage.
Accessories elevate both function and fit. Grilles protect drivers and allow custom finishes that match the fairing. Foam baffles behind each speaker smooth low-frequency response and protect cones from backpressure. Small waterproof amplifiers designed for motorcycle use reduce enclosure size and simplify thermal concerns. Bluetooth source modules built for motorcycles allow hands-free pairing and simple controls at the handlebars. If you want deeper bass, a compact, sealed sub enclosure mounted under the seat or in a pannier can add authority without overwhelming the fairing’s acoustics.
Aesthetic cohesion is often the deciding factor. Customizing grill shape, paint, or trim ensures the installation looks factory. Some installers offer options to line cutouts with matching trim rings or replace plastic speaker bezels with metal inserts that can be painted or chromed. If the fairing is an aftermarket batwing, check whether the supplier offers pre-cut speaker locations; that can save time and preserve structural integrity.
Installation can be a satisfying DIY project for someone with moderate mechanical skill, but specific skills matter. Working with fiberglass or ABS fairings requires knowledge of reinforcement techniques. Electrical work requires proper crimping tools, heat-shrink, and an understanding of fusing and relays. If you’re unsure, professional installation pays for itself by avoiding accidental damage to fairing shells, wiring harnesses or the bike’s electrical system.
Finally, plan for tuning and testing. Road noise and wind exposure change perceived sound dramatically. After the system is installed, take time to ride and adjust equalization, crossover points and loudness settings. Small adjustments—tweaking a midrange frequency or slightly rolling off the low end—can improve clarity without increasing volume. Use foam pads and panel damping to address rattles discovered at speed rather than simply adding gain.
For fitment details, parts and example assemblies for the 2007 Vulcan 900 batwing fairing, consult vendor listings that show compatibility and mounting examples. One useful product listing with images and fit information can be found here: https://www.ebay.com/itm/315682955685. For sourcing fairing components and exploring compatible fairing options, review the Kawasaki fairings collection to check shell dimensions and styles: Kawasaki fairings collection (https://www.summitfairings.com/collections/kawasaki-fairings).
Sound Behind the Wind: Crafting a Seamless Stereo Upgrade for the 2007 Kawasaki Vulcan 900 Batwing Fairing
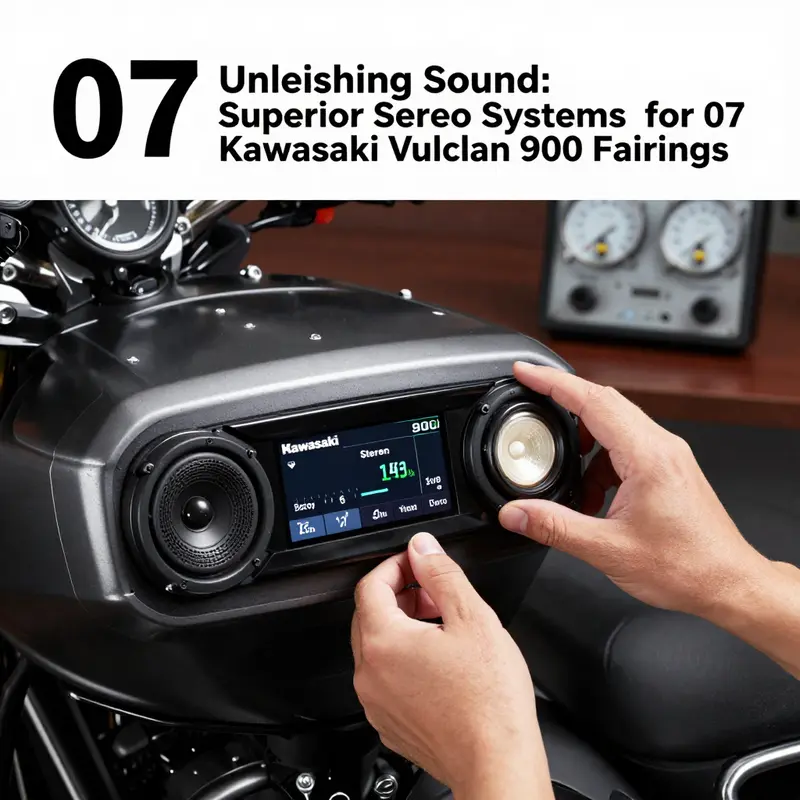
On the 2007 Kawasaki Vulcan 900, the batwing fairing does more than shield the rider from wind; it shapes the sound that travels from the cockpit to the rider’s ears. Upgrading the audio inside this fairing turns the bike into a traveling concert hall, but the success of such a project rests on two intertwined questions: compatibility and acoustics. The fairing is not a generic mounting plate. It is a specific cradle with its own mounting bosses, weatherproofing seals, and electrical routing channels. Any stereo system chosen for this setup must respect that architecture, or the result will be rattling brackets, sagging harnesses, or muffled music that fights the wind rather than riding along with it.
Within this context, the primary constraint is the available speaker cavity and the space around the internal framework. The Vulcan 900 batwing typically accommodates mid-range to small high-sensitivity drivers, and many aftermarket kits are designed for 4- to 5¼-inch speakers. These sizes balance the need for output with the need to avoid overhang that would clash with the fairing shell, mirrors, or the rider’s knees. The geometry of the fairing directs sound forward toward the rider and upward slightly, so speaker placement becomes a statement about phase and timbre as much as volume. When the elements are aligned—door-like speaker inserts that sit flush, grilles that mirror the fairing’s contours, a mounting plate that doesn’t crowd the turn signal wiring—the result is music that feels integrated rather than bolted on.
A growing preference among riders is to pursue integrated upgrade kits that couple a batwing fairing with a Bluetooth-enabled stereo ecosystem. Rather than assembling a system from disparate pieces, these packages are designed to harmonize form and function from the start. The value here is not just aesthetic. When the fairing’s mounting points, audio harnesses, and weatherproof connectors are calibrated in unison, the installation tends to be cleaner and more reliable. There is less risk of vibration-induced rattling because the whole assembly is engineered to resonate in a controlled way with the motorcycle’s chassis. The rider experiences less wind-induced confusion as the source of sound becomes directional rather than diffuse, a critical factor when riding at highway speeds where wind noise is a constant foil.
In practical terms, a well-conceived setup should deliver clarity across the spectrum: a solid low end that adds weight to the music without turning the engine into a bass cannon, and crisp highs that cut through the wind without harshness. Midrange remains essential because it carries the body of the music—the voices, the guitars, the keyboards that give songs character. The higher frequencies must stay intelligible even when the motorcycle roars past roadside noise. Bluetooth connectivity is increasingly non-negotiable for many riders; the ability to stream from a phone or another device and to take hands-free calls without reaching for the phone is a safety and convenience feature aligned with modern riding expectations. Yet, wireless streaming also introduces latency and potential interference that an OEM-inspired or professionally designed system will mitigate through synchronized amplifiers and properly routed power.
Sound quality is not achieved by more wattage alone. A well-tuned system uses a balance of amplification, efficient speaker drivers, and a bracket design that minimizes resonant cavities. In the batwing context, the fairing itself acts as a partly acoustic chamber. The mounting strategy should avoid crimping cables or overly rigid brackets that can transmit vibration to the driver. Weather sealing remains crucial, given exposure to rain and road spray. Therefore, premium harnesses, sealed controller modules, and gaskets that maintain the original aesthetic are hallmarks of thoughtful engineering. The rider then enjoys a sound stage that seems to come from the fairing rather than from a metal case strapped to a motorcycle.
From an installation perspective, pre-planning matters as much as the hardware. It starts with a careful measurement of the fairing’s inner cavities and the orientation of the OEM hardware that the aftermarket kit will re-use or replace. A clean routing plan ensures that power and signal lines do not cross hot surfaces or pinch against moving parts. Grounding must be solid and continuous; a floating ground is not just a nuisance, it can degrade audio performance after hours on the road. The result is a system that remains quiet when the bike is idling and remains faithful to the source material at speed.
For riders who are evaluating options, the batwing fairing’s lines and the bike’s overall silhouette should guide the final appearance. In some installations, the approach is to preserve the factory look by using speakers and enclosures that mirror the fairing’s curves, while in others the customization leans toward a stealthy, modern aesthetic that still respects the bike’s heritage. The choice often rests on how much of the underlying hardware the rider is willing to expose and how clean a completed project they desire. Where the bike’s lines are smooth and uninterrupted, discreet mounting brackets and low-profile speaker grills help maintain that visual continuity while delivering performance under the skin.
For readers who want to see how these considerations translate into real-world options, exploring the broader landscape of Kawasaki fairings can be instructive. A centralized hub of compatible fairing options provides a sense of how different geometries handle the same audio goals. It can help riders imagine how a given speaker size, enclosure shape, or mounting pattern would integrate with the Vulcan 900’s batwing. The fairing’s own design language—whether it leans toward retro lines or a sleek modern contour—will influence not only the installation’s ease but also the perceived value of the upgrade. To glimpse how others have aligned the batwing with modern audio, one can browse assemblies that emphasize seamless integration rather than visible modifications. See the Kawasaki fairings collection for perspective on how aftermarket components can match the factory aesthetic while accommodating contemporary electronics. Kawasaki fairings collection.
Beyond the technical and cosmetic considerations lies the rider’s experience on the open road. An upgraded stereo system, when properly matched to the fairing, can give a rider a renewed sense of connection to the journey. It is not simply about louder sound; it is about delivering a cohesive listening experience that travels well with the wind, fills the cockpit with warmth, and remains intelligible at speed. The choice of enclosure materials, the acoustic tuning of the drivers, and the impedance of the overall system all contribute to a sound signature that feels tailor-made for the Vulcan 900. This is important because the bike’s ergonomics, seating position, and wind relaxation models interact with how sound is perceived. A harmonious blend of hardware and fairing geometry can produce an audible sweetness that rewards deliberate setup rather than trial-and-error improvisation.
Maintenance and durability are not afterthoughts. Because the new audio hardware sits behind seals and near moving fairing components, riders value devices with sealed enclosures, corrosion-resistant terminals, and connectors rated for vibration. A good kit uses weather-sealed connectors and includes service-friendly spares. The installation plan should factor in service intervals; speaker grills and protective covers should be easily removable for inspections and cleaning. Water intrusion remains the most common cause of failure in outdoor audio, so gaskets and protective coatings become essential for reliability on wet rides and salt roads.
Rider testing is essential after the install. A period of tuning on the road across different speeds, wind conditions, and temperatures helps reveal any rattles, misalignments, or hum. It also allows fine-tuning of equalization settings to compensate for the fairing’s acoustic environment. Some riders find that a small adjustment to the high-pass filter for tweeters or midrange drivers can clear up muddiness at top speed, while a controlled bass boost can fill the lower frequencies without turning the bike into a wind-noise machine.
Final note: The effort pays off when the audio system becomes an enabler of the journey rather than a distraction. With proper planning, a Vulcan 900 rider can enjoy a cohesive soundscape that aligns with the bike’s cultural aesthetic. The fairing’s own identity remains intact while the music enhances the sense of motion, turning long highway miles into a more immersive experience. For those who want to explore further, external listings and discussions can offer real-world layouts and user feedback that deepen the understanding of what makes a Vulcan 900 audio upgrade truly sing on the road. eBay listing for a Vulcan 900 batwing stereo.
Riding Soundscapes: Market Trends and Consumer Preferences for Fairing-Integrated Audio on the 2007 Vulcan 900
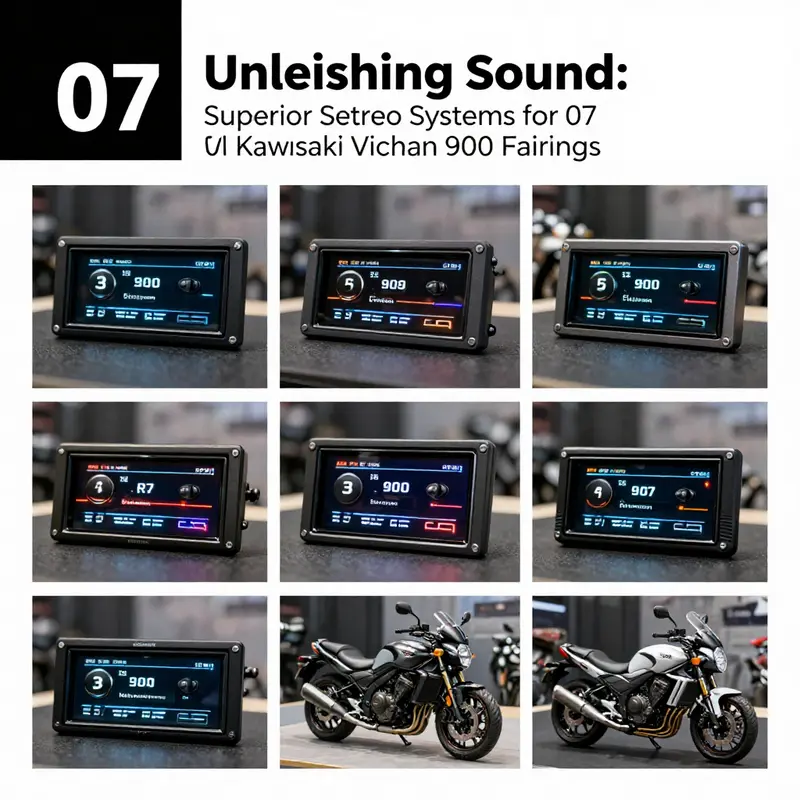
The 2007 Vulcan 900 sits as a classic interpretation of mid size cruising, prized for its manageable weight, smooth torque, and a riding posture that invites long hours on open roads. Yet the absence of a factory installed audio system has shaped the character of its aftermarket journey. Riders who seek to turn every highway into a moving concert must bridge the gap between bare wind and rich sound. The landscape of fairing mounted audio systems is not merely about slapping speakers into a shell; it is about harmonizing chrome and fabric, aerodynamics and acoustics, safety and immersion. In this space, the market has grown toward solutions that feel like natural extensions of the bike rather than afterthought add ons. That means compatibility with the fairing, reliability at speed, and an audio experience that stays clear as the wind velocity rises to highway tempos. The conversations among enthusiasts often circle around three pillars when assessing options: how well the system integrates with the existing fairing design, how the music translates in the open air, and how straightforward the installation and maintenance will be for a rider who is more mechanic than showroom technician. These concerns are not isolated opinions but reflections of a broader consumer sensibility that values a clean aesthetic, dependable performance, and a sound that is both precise and powerful at any speed. The shift away from generic add ons toward purpose built, fairing oriented configurations is evident in the way mounting locations, speaker sizes, and enclosure shapes are discussed in rider communities. When a rider contemplates a fairing mounted system, the conversation almost always returns to a common baseline: a setup that fits the fairing’s internal geometry, utilizes speaker bays that are already sculpted into the fairing, and preserves the bike’s lines and color. In practice this means preferring batwing or similar styles with pre designed speaker cutouts that accommodate commonly used sizes, such as about four by five and a quarter inch speakers. Such a configuration matters because it simplifies the modification path without sacrificing the visual integrity of the bike. Riders who are weighing options frequently highlight the convenience of these integrated mounting points as a decisive factor.
Wired for the Open Road: Upgrading a 2007 Kawasaki Vulcan 900 with Batwing Audio
The 2007 Kawasaki Vulcan 900, with its muscular silhouette and long, wind-swept highway stance, invites a different kind of ride when the bike’s fairing becomes a listening room rather than merely a shield from the weather. Upgrading the stereo inside the Batwing-style fairing is not just about swapping speakers; it is a careful negotiation between space, weather, vibration, and the mood you want your miles to carry. The Batwing fairing is engineered to cradle a compact audio system without sacrificing the clean lines of the bike, but that design intention also constrains what you can physically install. The first thing to acknowledge is compatibility: does your 2007 Vulcan 900 carry the original or an aftermarket Batwing, and are there pre-formed cavities or mounting points that anticipate a bundle of speakers and a compact head unit? The guidance here is practical and grounded in real-world fit and finish. A well-matched system tends to tuck neatly into the interior recesses of the fairing, respecting the contour of the windshield and the rider’s seating position, while leaving space for wiring harnesses and the head unit’s controls so that operation remains intuitive on the fly. When space is tight, the goal is to preserve the fairing’s lines and ride feel as much as possible, not simply to cram more gear behind the glass. For riders who want to see what compatible configurations look like, a quick browse through a Kawasaki fairings collection provides a clear sense of common interface points and mounting considerations. Kawasaki fairings collection
The kind of audio upgrade that makes sense on a Vulcan 900’s Batwing typically centers on a waterproof, vibration-tolerant system designed for the rigors of long-distance riding and exposed weather. Think of a weather-sealed head unit that can pair with a Bluetooth source and deliver clean, distortion-free audio even at highway speeds. A four-speaker arrangement, using squarely sized 4- to 5¼-inch drivers, is a common and well-balanced choice for this chassis. The drivers can be configured in a front pair for the lower fairing area and an upper pair tucked near the inside of the windscreen, creating a stereo image that remains coherent despite the bike’s natural wind noise. The benefit of a four-speaker set is not only louder output but a richer dispersion pattern that fills the rider’s cockpit without requiring the engine to roar and the wind to blunt the sound. The electronics side generally prefers a compact four-channel amplifier, carefully mounted to minimize vibration and heat exposure, with a short, direct run to the speakers to reduce signal loss. A clean installation avoids splices and uses weatherproof connectors to weather the storms and the wash of highway spray. The result is a system that stays reliable mile after mile while delivering a musical presence that keeps you engaged with the ride rather than fatigued by it.
The installation philosophy for a Vulcan 900’s fairing favors a deliberate, layered approach. Start with the mounting plan, then move to power and signal routing, and finish with acoustics tuning. The mounting plan is about locating the speakers so they neither collide with the instrument cluster nor obscure airflow to the fairing’s vents. It also involves choosing a mounting depth that won’t intrude into the rider’s knee space or interfere with the fairing’s structural ribs. A common practice is to use brackets that anchor to existing mounting points and to rely on sealed, marine-grade fasteners to resist the damp and the occasional splash. Wiring topology is the next crucial element: run power from a fused, switched source—ideally after-market harnessing that includes a built-in fuse box and weather-sealed connectors—and ground at a solid point on the bike’s frame to avoid noise and ground loops. The signal path should be as short as possible, with the head unit mounted in a location where its controls remain accessible without forcing the rider to lean forward or remove gloves. Keeping the remote turn-on wire discreet prevents unintended power-on when you don’t want the system active. The bike’s electrical system should be evaluated for its ability to handle both the audio system and accessories without triggering voltage drops that lead to lights dimming or the infotainment unit rebooting mid-ride.
Sound quality in a touring context is as much about tuning as it is about components. A four-speaker layout benefits from a two-stage approach to acoustics: a clean, balanced low end that remains tight at speed, and a crisp high end that preserves vocal clarity and instrument detail without becoming harsh in crosswinds. A robust head unit capable of EQ adjustment, a small but solid amplifier with good damping factor, and weather-resistant drivers with sealed voice coils contribute to a sound that feels physically present rather than merely louder. The blend should be tuned for the rider’s seating position, with the left and right channels aiming for an even, coherent image that can be heard over the wind pressure at typical highway speeds. Because wind noise shifts with speed and posture, it is essential to give yourself a few rides to fine-tune the equalization. Some riders prefer a gentle boost in the midrange where voices and guitars sit, while others lean toward a slightly warmer overall tone that blends more smoothly with their preferred road music. A practical takeaway is to begin with a broad, flat response and then reduce, not amplify, the bass and highs at the steering head, allowing the harmonics to emerge as the system settles into the fairing’s acoustics.
The customization potential here goes beyond the raw electronics. A motorcycle audio upgrade is an invitation to personalize the finish and the silhouette of the sound system. Some riders select speaker enclosures that use lighter, durable materials such as carbon fiber or brushed aluminum to complement the fairing’s aesthetic while providing a rigid home for the drivers. Color-matching finishes can be applied to the speaker housings to echo the bike’s paint and decals, making the system look like an original hardware feature rather than a retrofit. The overall effect is a cohesive integration that respects the Vulcan’s classic lines while signaling a rider’s attention to detail and comfort. This is not about chasing the loudest possible note but about crafting a listening environment that travels with the bike across long distances, where steady acoustics and reliable hardware matter as much as the music itself. For riders who value the integrity of their bike’s appearance, a tasteful, integrated setup is a demonstration of restraint and sophistication, a technical elegance that harmonizes with the machine’s mechanical soul.
Finally, the decision to upgrade should be anchored in professional installation. The bike’s electrical system and the fairing’s structural integrity are aspects that benefit from a technician’s informed touch. An experienced installer can assess the fairing’s mounting tolerances, verify the dashboard’s clearance, secure the amplifier in an area that remains cool yet shielded from the elements, and ensure all connections are sealed and strain-relieved. A well-executed installation not only improves sound but also reduces the risk of rattles, shorts, or interference with other critical bike systems. For riders who want a benchmark for their own shopping and installation journey, it’s helpful to consult sources that outline compatible fairing configurations and mounting approaches tailored to the Vulcan 900 lineup. The goal is to achieve a clean, integrated look that feels factory, even if the system has grown from a DIY impulse into a meticulously engineered upgrade.
External resource: https://www.ebay.com/itm/Stealth-Mission-PIA-Stealth-Batwing-Fairing-with-Milennia-PRV22-Bluetooth-Stereo/1234567890. This reference illustrates how a Batwing-inspired integration can merge a sleek fairing with a high-performance audio package, offering a practical point of comparison for riders contemplating similar installations on their 2007 Vulcan 900. For ongoing exploration of compatible fairing options and related hardware, you can also explore Kawasaki fairings collections online and consider how each design language might influence your own upgrade path.
Final thoughts
Integrating a quality stereo system into the 2007 Kawasaki Vulcan 900 fairings not only enhances the rider’s enjoyment but also opens avenues for businesses to cater to a niche market. As we’ve explored, from understanding compatible systems and installation processes to evaluating performance and customization options, the potential for improving the riding experience is vast. For business owners in the motorcycle industry, recognizing these trends and preferences is key to thriving in a competitive market.