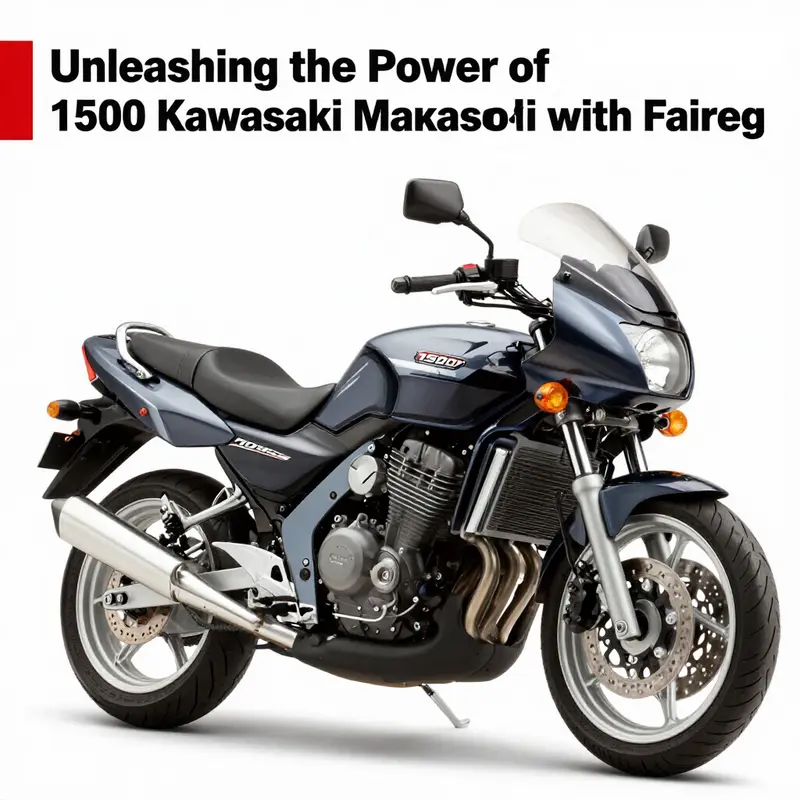
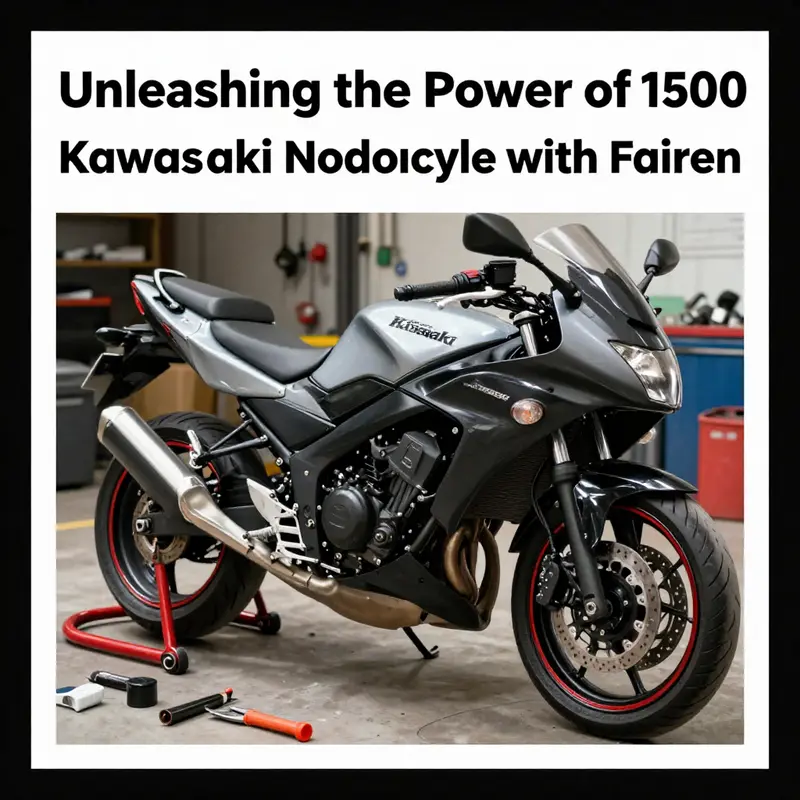
The 1500 Kawasaki motorcycle, especially the classic models like the 1997 version, has built a notable reputation amongst riders for its smooth V-twin engine and comfortable riding posture. For business owners and motorcycle enthusiasts alike, integrating a fairing system into this classic machine promises multifaceted benefits—enhancing both the aesthetic appeal and performance. From aerodynamic advantages to increased comfort on long rides, aftermarket fairings offer significant upgrades to the riding experience. In this article, we will comprehensively discuss the features and specifications of the 1500 Kawasaki with fairings, delve into its performance enhancements, provide insights on installation, compare various aftermarket options, and share maintenance tips to ensure that your motorcycle continues to perform at its best.
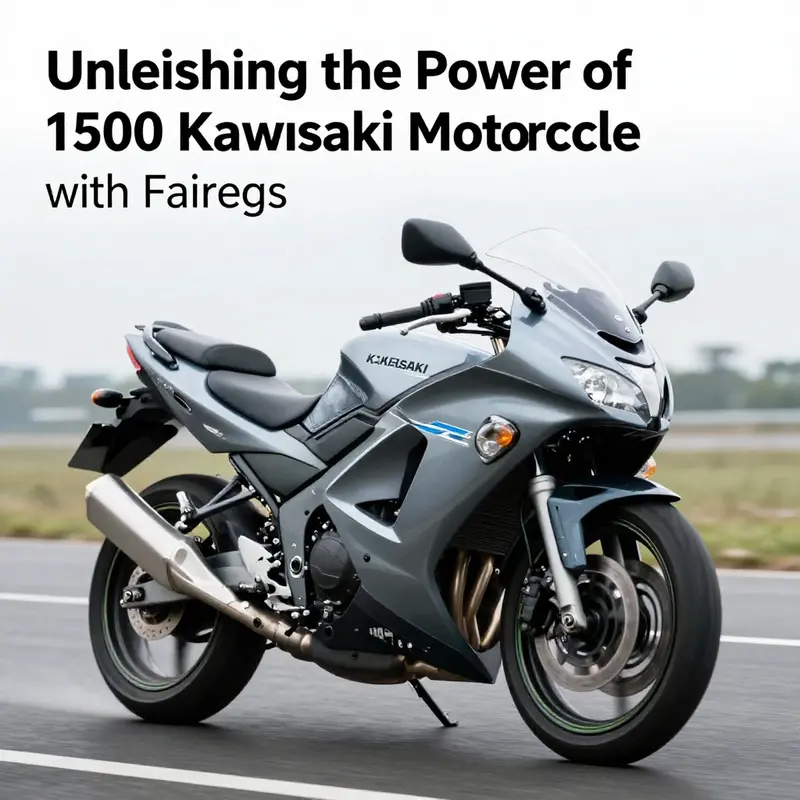
Windswept Rebirth: Reimagining a 1500-Kawasaki Cruiser with Modern Aerodynamic Fairing
A big, air-cooled engine roaring beneath a wide, comfortable seat invites the rider to ride farther and longer, but it also invites wind. For a large-displacement Kawasaki cruiser, the open road can feel like a wind tunnel, especially on fast lanes or open stretches where the speed whispers in the rider’s ear.
A fairing, when chosen and fitted with care, can transform that experience. It is not merely a cosmetic touch; it is a deliberate engineering choice that reshapes airflow, rider fatigue, weather protection, and even handling feel. The idea of adding a fairing to a 1500-class Kawasaki bike is a blend of art and physics — a practical upgrade that preserves the essence of a relaxed, long-range ride while embracing a more modern aerodynamic discipline. The result is a motorcycle that still carries the aura of classic motorcycle comfort but rides with a quiet efficiency once reserved for much newer sport machines. In truth, the transformation hinges on a balance: the unfair wind, the rider’s posture, and the bike’s chassis underneath all must speak the same language for the ride to feel natural rather than contrived.
The core reason riders pursue aftermarket fairings on a large-displacement Kawasaki is simple: wind management. A well-designed fairing acts as a partner to the rider, peeling away the gusts that would otherwise buffet the torso, head, and shoulders after hours in the saddle. It also contributes to reduced drag, which can translate into steadier highway behavior, less rider fatigue, and a more controlled voice from the engine as it sweeps toward higher revs. This is not merely about turning a cruiser into a sportbike; it is about enabling longer, more comfortable excursions with better protection from weather and road spray. The fairing’s shape — its curvature, the angle of the windshield, the size and placement of side panels — matters almost as much as the material it is made from. ABS plastic offers impact resistance and weight efficiency, while fiberglass can be tailored more easily into aggressive, customized lines. The choice depends on how aggressively the rider wants to shape the machine’s silhouette and how much speed they intend to chase on open roads.
But entering this domain requires care with compatibility. The appeal of a fairing kit is strong, yet a kit designed for a different year or chassis configuration can introduce misalignment, undue vibration, or even interference with the engine or exhaust routing. The installer must confirm that the kit fits the exact configuration — including frame geometry, mounting points, and the routing of wires and hoses. Those considerations are not barriers to transformation; they are the checkpoints that keep the project grounded in reliability. The installation process itself becomes a test of patience and precision. Alignment needs to be exact, fasteners must be secured to factory torque specs, and any quick-release components should operate smoothly without rattling at speed. It is not unusual for riders to seek professional help or to consult detailed product specifications and a trusted dealer before committing to a kit. The goal is a streamlined assembly where the fairing feels integrated — not a race to the edge of the fairing’s own limits, but a seamless extension of the bike’s line and the rider’s posture.
The architectural logic of the fairing favors rider comfort on long stints as much as outright speed tech. A larger, well-shaped fairing can create a more stable wind envelope around the rider, letting shoulders drop into a more relaxed position and reducing the fatigue that comes with fighting wind pressure for hours on end. In practice, the rider’s seating geometry and the bike’s steering geometry are part of the same conversation as the fairing’s contour. When designed with careful attention to weight distribution and center of gravity, a fairing does not simply push air around the rider; it can influence how the bike behaves in crosswinds and at lean angles in corners. Some riders report a feeling of enhanced steadiness at high speeds, while others emphasize the sense of cabin-like protection and the reduction in wind buffeting around the helmet. The truth is nuance more than a single outcome: the right fairing blends wind protection with minimal added weight and preserves or even improves the bike’s balance in fast sections and in the mid-speed sweep of the open highway.
Beyond performance, the aesthetic argument for fairings rests on the rider’s desire for a modernized expression of a classic machine. A full or partial fairing can shift the bike’s identity, moving it toward a more contemporary silhouette without erasing its heritage. Color matching, finish, and the choice of panel shapes enable a personalized look that reflects the rider’s taste. The finish matters as much as the function; glossy surfaces with clean lines can make the bike appear newer and more cohesive, while textured finishes can evoke rugged practicality. A fairing is a canvas as much as a shield, offering the rider a chance to tailor the machine to reflect personal style while also delivering practical benefits.
For those who want to explore the broader ecosystem of options, the market offers a spectrum of choices that align with the bike’s standing as a large-displacement cruiser. The selection process blends practical constraints with creative aspiration. It begins with clarifying priorities: wind protection, weight impact, ease of maintenance, and alignment with the rider’s intended use. A fairing kit designed for a specific model year and chassis configuration remains the safest route, given its mounting geometry and compatibility with the bike’s existing substructures. From there, riders can consider the scope of coverage: a small cowl that offers modest wind protection or a full fairing that envelopes the front and sides for a wind-barrier experience. Some riders even opt for integrated features such as a larger windshield or side covers that incorporate aesthetic details with functional benefits. The dialogue between form and function is ongoing, and the final choice should honor both the bike’s line and the rider’s comfort and confidence.
To learn more about the broader landscape and to see how manufacturers and enthusiasts think about these transformations, consider exploring the Kawasaki fairings ecosystem as a starting point. A fairing catalog and community discussions can provide practical guidance on fitment, maintenance, and styling directions, helping frame the decision in a practical light, balancing fitment realities with the rider’s ambitions.
Ultimately, the narrative of upgrading a 1500-class Kawasaki with a fairing is one of measured ambition. It asks the rider to weigh the value of modern aero design against the charm of a classic machine. It invites respect for the bike’s original intent while recognizing that thoughtful modifications can extend its relevance in modern riding conditions. The process rewards patience, precise measurement, and attention to detail. When done well, the result is a machine that stands as a bridge between eras: a cruiser that benefits from aerodynamic considerations without surrendering its character, a ride that feels lighter on the hands and heavier in the heart, and a long-term companion that speaks to both the past and the present of Kawasaki engineering.
null
null
Wind, Weight, and Precision: Mastering Fairing Installations on a 1500 Kawasaki
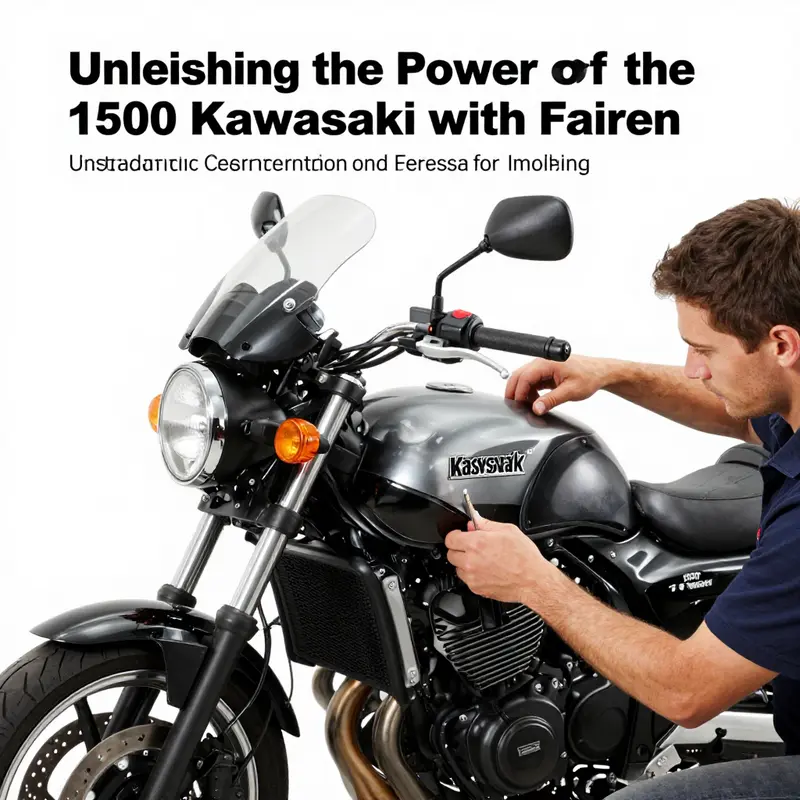
Fairing installation on a 1500 Kawasaki represents more than a cosmetic upgrade; it is a careful balance of aerodynamics, rider comfort, and structural integrity. The goal is not just to graft another shell onto a chassis, but to harmonize wind deflection, weight distribution, and the motorcycle’s existing handling characteristics. When done thoughtfully, a properly fitted fairing can shrink fatigue on long highway rides, shield the rider from weather, and give a modern demeanor to a venerable large-displacement platform. Yet the same modification, if misapplied, can introduce vibration, misalignment, or even regulatory complications. Therefore, the installation narrative around these machines must proceed with deliberate attention to compatibility, mounting robustness, electrical integration, and the evolving dialogue between rider and machine.
At the heart of any fairing project lies fitment and compatibility. A 1500cc Kawasaki motorcycle spans a family of models with different frame geometries, headlight housings, and mounting points. The most critical step is to confirm that the fairing kit is designed for the exact model year and configuration. Even small variances in frame stiffness, bracket spacing, or the shape of the headlamp cavity can yield misalignment or gaps that look uneven and feel unsettling at speed. The practical reality is that OEM specifications remain the best compass. Reputable kits will list precise fitment notes, and reliable installers will cross-check the kit’s component count against the bike’s existing hardware. In many cases the kit should come with all the required brackets, bolts, grommets, and spacers; missing pieces or mismatched hardware almost always compounds alignment problems and increases vibration risks. When in doubt, a dealer or certified shop can verify whether a particular year’s frame geometry requires slight modification or supplemental mounting hardware.
Structural integrity is the other pillar of a successful installation. Large fairings on heavier motorcycles introduce significant aerodynamic loads, especially at highway speeds. This means mounting brackets must be robust, corrosion resistant, and rated for sustained wind pressure. Lightweight fasteners or improvised mounting can fail just when the ride matters most. The prudent path is to use purpose-built mounts that distribute load without concentrating stress on a single point. The fastening method should resist loosening due to vibration, heat cycling, and wind gusts. This often means using lock washers, thread-lock compounds appropriate for metal-to-plastic interfaces, and, where necessary, redesigning certain attachment points to preserve symmetry and balance. Given the mechanical demands, professional installation is strongly advised. A skilled technician can verify anchor integrity, ensure even weight distribution, and fine-tune the fairing’s interaction with the bike’s existing trim pieces. The goal is not only a snug assembly but one that behaves predictably as speed builds and the bike leans into a corner.
Electrical and wiring integration introduces a second layer of complexity. Modern fairings frequently house integrated lighting—headlights, turn signals, and occasionally taillights or running lamps. Routing these wires cleanly demands an understanding of the bike’s electrical system as well as the new harness’s routing plan. The interplay between a fairing’s electrical features and the motorcycle’s original wiring can lead to unintended consequences if not managed properly. Proper connectors, shielded paths, and adequate insulation are essential. In some cases, additional relays or converters are required to guarantee consistent brightness and to avoid backfeeding into factory circuits. A careful test of all lighting functions in multiple scenarios—daylight, twilight, and complete darkness—helps ensure visibility remains compliant with safety expectations. A dashed line in the process is the need to avoid creating new heat sources that could soften plastics or damage wiring insulation. An installer with electrical experience can confirm that the added harness does not interfere with the bike’s charging system or accessory circuits and that any added lighting respects local inspection requirements.
Aerodynamics and rider comfort are the purposive heartbeat of a fairing upgrade. Stretching the wind against a 1500cc chassis can noticeably shift the rider’s posture and the motorcycle’s stability envelope. A well-designed fairing helps deflect wind away from the torso and shoulders, reducing fatigue during long highway periods. But the same fairing can alter the bicycle-like feel of a cruiser or the agile balance of a sport-touring machine if the windscreen height is out of range or if the fairing creates an unfamiliar forward mass. Riders may need to experiment with windscreen height, pitch, and angle to dial in the most comfortable position. Some kits offer adjustability, while others require aftermarket modifications to achieve a similar effect. In testing, riders should pay attention to vibration resonance, particularly around highway speeds, and evaluate whether the fairing introduces any buffeting or pressure points. The result should be a cohesive airflow pattern that stabilizes at higher speeds, with the rider seated in a relaxed and safe posture. If a windscreen can be swapped for different heights, a few millimeters can make a meaningful difference in neck and shoulder strain.
Legal and regulatory considerations frame the practical boundaries of modification. Road-safety regulations frequently require that a motorcycle’s lights remain fully functional and clearly visible, and that any additional bodywork does not create blind spots or obscure critical indicators. A fairing that blocks essential instruments or interferes with the rider’s line of sight can invite fines or failing a safety inspection. This underscores the importance of choosing a kit and installation plan that preserves the visibility and accessibility of the bike’s gauges, switches, and lighting. The broader implication is that the modifications should be reversible or at least designed for easy reversion if requirements change. When planning an installation, owners should consult local regulations and ensure the kit’s compliance with road-use standards in their area. The sense of confidence that comes from staying within legal boundaries often accompanies a smoother, more predictable riding experience.
With compatibility, structure, electrical integration, and legality in mind, selecting the right fairing kit becomes an exercise in informed discernment. Materials typically range from sturdy ABS plastic to fiberglass composites. ABS can offer impact resistance and flexibility, which helps resist cracking under minor impacts and temperature shifts. Fiberglass can be lighter and stiffer but may require more finishing work to achieve a smooth, factory-like look. The kit should include the essential components—windshield, side covers, mounting hardware, and any required fenders or integrated pieces—and these parts should align with the OEM’s mounting geometry. Color matching, textured finishes, and the ability to be painted or textured are practical considerations for riders who want a seamless aesthetic. A thoughtful buyer will also consider whether the kit provides a clean line with the bike’s existing tank and side panels, ensuring there are no visible gaps that collect mud or water. In addition, a well-conceived kit often includes rubber seals or gaskets to reduce chafing between metal and plastic, extending the life of the assembly.
For riders who want breadth in choice while preserving a coherent look, there is value in examining a broader fairing catalog that covers large-displacement machines across brands. A well-curated kit can offer better fitment for the bike’s silhouette and more straightforward alignment with the engine’s cooling pathways. An informed approach also includes looking at the kit’s installation manual, which should clearly state torque ranges, alignment checks, and any required modifications to fairing brackets or mounting points. The installation experience, in this sense, becomes a process of aligning the rider’s expectations with the actual mechanics of the bike. It is equally important to confirm that the kit’s hardware is corrosion-resistant and that the mounting points will not abrade moving components during turns or under steering loads. Precision in spacing, bite in the fasteners, and a methodical approach to tighten sequences help ensure the fairing remains true at speed, without introducing new vibrations or misalignment.
As the discussion circles back to the broader article topic, the installation of fairings on a 1500 Kawasaki motorcycle emerges as a careful synthesis of fitment verification, structural reliability, electrical hygiene, aerodynamic tuning, and legal compliance. The result is not merely a new visual appearance but a rebalanced chassis dynamic that supports longer, more comfortable rides without compromising safety. For readers who wish to explore more of the practical resources available and to see what a broad catalog can offer, a widely recognized collection of Kawasaki fairings presents a starting point for year-specific choices and compatibility checks. See the Kawasaki fairings collection for options and guidance on matching a kit to your exact model and year. https://www.summitfairings.com/collections/kawasaki-fairings. For a deeper dive into the role of fairing kits in airflow, rider comfort, and handling, consider the external analysis on aerodynamic impact and practical applications, which offers a broader framework for evaluating how these upgrades influence on-bike dynamics. https://www.bennettmotorcycles.com/kawasaki-fairing-kit-analysis-2025.
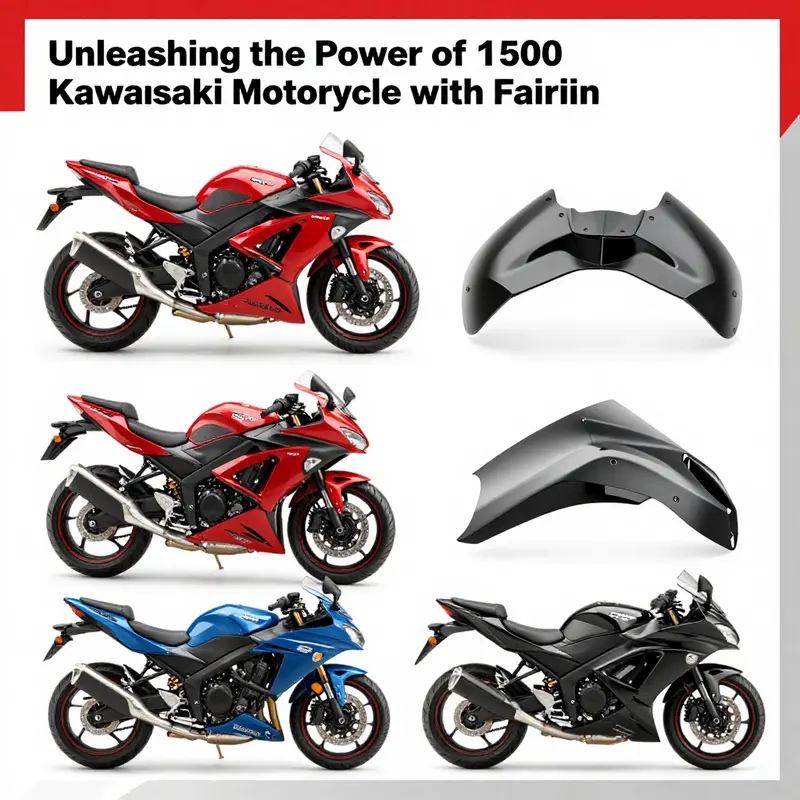
Comparing Aftermarket Fairings for the 1500 Kawasaki Motorcycle
On a late-model Vulcan 1500 cruising along an open highway, the road noise and wind can blend into a constant wake that wears on a rider’s shoulders. The stock bike offers a clean, honest silhouette with minimal bodywork, but aftermarket fairings invite a different conversation. They promise improved aerodynamics, weather protection, and a personal statement that makes the bike feel both modern and timeless. The choice of fairing becomes more than a cosmetic decision; it is a calculation of how you ride, where you ride, and how much effort you want to invest in the bike’s comfort and handling over time. In this space, three broad paths emerge, each with its own logic and set of trade-offs, and they map directly to the way a rider experiences the 1500’s V-twin and relaxed, upright cruising geometry.
First comes the half fairing. It is the most pragmatic option for many Vulcan owners, offering partial coverage that shields the headlight, instrument cluster, and upper fork area while keeping the lower engine and chassis exposed. This design preserves the bike’s classic cruiser ethos while nudging efficiency just enough to quiet headwinds at highway speeds. It keeps maintenance accessible; you can reach the filters and hoses without removing large panels, and the weight penalty stays modest. Riders who chase a nimble feel or a blend of sport-touring aesthetics often find this compromise appealing. The wind protection is real but not all-encompassing, so loud gusts and long stretches at highway pace still demand a mindful posture and a good windshield choice. The result is a balanced ride that leans into aerodynamics without surrendering the bike’s easy, mechanical character.
The full fairing, by contrast, is the tool for those who prioritize comfort over every mile. It is heavier and more involved to install, and it changes the bike’s silhouette and maintenance workflow. Yet the aerodynamic envelope that a full fairing creates is substantial. At higher speeds, it can markedly reduce wind buffeting and rider fatigue, turning long-distance trips into a more relaxed experience. The larger panels can also merge into a more integrated look, smoothing the bike’s lines and offering a more enclosed, protective feel—almost a statement of touring intent. For riders who spend significant time on open roads or in unsettled weather, the full fairing is a logical investment, even as it invites a more deliberate setup in terms of mounting brackets, electrical routing, and weather sealing.
A third path is the batwing-style front upper fairing, a retro-inspired option that many cruiser enthusiasts gravitate toward for its distinctive look and integrated styling. This design provides a wider, sculpted upper shield that deflects wind from the rider’s chest area and can deliver a surprisingly effective wind block without the bulk of a full fairing. It echoes the cruiser’s heritage while offering practical gains in deflection and rider comfort. What it does not do is transform the Vulcan into a sportbike; it preserves the bike’s character while subtly shifting the rider’s interaction with wind and weather. The batwing approach tends to appeal to riders who want a stronger aesthetic connection to the model’s lineage while still seeking a tangible improvement in wind management over the naked bike configuration.
Material choice often threads through all three paths. High-impact ABS plastic is a common baseline for aftermarket fairings, valued for its resilience against road debris, weather exposure, and the jostling of highway speeds. Fiberglass can offer a stiffer, sometimes lighter alternative with an easier route to custom paint, but it may require more care to avoid cracks after a mishap. The expected weight difference, rigidity, and finish quality all influence how the fairing behaves at speed and how it feels when you lean into a curve or reach a long straightaway. The installation reality itself matters as much as the material. Fairings must align with mounting points on the frame and sometimes require custom brackets or minor trimming to get a perfect fit. If the kit and the bike’s configuration diverge even slightly by year or trim level, misalignment can lead to vibrations, rattles, or, in worst cases, structural interference with the front wheel or headlights. Detailed compatibility checks with a knowledgeable dealer or a trusted source are essential before committing to a purchase. For those who map their ride by seasons and routes, the decision between half, full, or batwing is also a choice about how often you’ll revisit the setup, re-tighten brackets, or adjust windscreen height and angle for the best balance of visibility and comfort.
In the broader practical sense, riders often connect fairing choices to a few core questions: how much wind protection do I need on my usual routes, and how much weight and maintenance am I willing to sacrifice for that protection? If you live in a region with frequent rain or strong crosswinds, a well-sealed fairing with a good seal around the cockpit as well as a properly mounted windscreen can make a winter ride feel approachable. If you rely on the Vulcan for weekend getaways where you’ll log hours in the saddle, then the trip becomes a test of endurance and fatigue mitigation, and a batwing or full fairing might prove its worth. The beauty of aftermarket options is that they let the rider tune the bike to a precise set of needs, rather than forcing the rider into a one-size-fits-all package. The process encourages a practical dialogue between aesthetic preference and mechanical feasibility, a conversation that is especially important given the Vulcan’s frame geometry and the history of the model through the late nineties and early two-thousands. Compatibility can be particularly nuanced—years matter as mounts, brackets, and electrical routing evolve. A 1997 Vulcan 1500 Classic, for example, shares some general geometry with later years but can differ in critical mounting points, meaning a direct, model-year-agnostic swap is rarely advisable without confirmation. This is where careful research and dealer consultation become central to a satisfying upgrade.
When considering installation, riders should anticipate some hands-on work. Proper alignment is essential to prevent vibration at speed, and securely fastened hardware must be chosen to withstand road conditions and heat cycling. The process often includes checking the fit of the windscreen, ensuring that the fairing’s inner panels clear the instrument cluster, and confirming that electrical connections for lights or dash illumination are intact and well insulated. Maintenance routines shift as well; the fairing introduces new fasteners that can loosen with vibration, and a thorough inspection schedule becomes prudent to preserve the aesthetic and functional gains over time. Cleaning and painting require compatible materials and finishes to avoid fading, cracking, or ghosting of color where panels meet. Even the less obvious maintenance tasks, such as re-sealing joints and ensuring the rubbers around mounting points remain supple, contribute to long-term reliability and rider confidence.
Beyond function, many riders embrace customization as a broader lifestyle statement. Aftermarket fairings open a canvas on which personal expression can thrive, from color-matched schemes to subtle graphic accents that echo a rider’s preferred tone. The trend extends to complementary details, including practical add-ons and accessories that harmonize with the fairing’s lines. While these accessories are just one piece of the broader customization puzzle, they illustrate how a rider’s identity can merge with the bike’s silhouette. For those curious about broader options for the Vulcan’s look, the Kawasaki fairings collection provides a curated starting point for exploring the spectrum of shapes, sizes, and finishes available, which can help buyers frame their goals before committing to a specific path.
As long as riders approach the decision with a clear sense of how they use their bike, the final choice tends to fall into a coherent narrative: Half fairings suit riders seeking a lighter touch and quick access to maintenance, batwings attract those who want a retro vibe with respectable wind deflection, and full fairings target long-haul comfort and maximum wind protection. Each path modifies the bike’s interaction with air, weather, and fatigue in a distinctive way, while preserving the Vulcan’s laid-back, confident demeanor. For readers exploring real-world options, a good next step is to browse the Kawasaki fairings collection to gauge the breadth of shapes and mounting philosophies available and to verify fitment against their exact model and year. This approach keeps expectations aligned with what is physically achievable and helps ensure that the chosen fairing amplifies the Vulcan’s strengths rather than complicating routine upkeep. Finally, for a deeper exploration of performance, composition, and practical applications of fairing kits, readers can consult an in-depth analysis of fairing design and airflow mechanics, which provides a grounded, technical perspective on how these upgrades translate to ride quality and handling on the road: https://www.bennettmotorcycles.com/kawasaki-fairing-kit-analysis-2025.
Internal link reference for further exploration: Kawasaki owners can start with the Kawasaki fairings collection to compare shapes, mounting points, and finish options that fit a Vulcan with hatchpoint simplicity and classic cruiser lines. This resource helps translate the general concepts discussed here into concrete options that align with a rider’s existing configuration and long-term maintenance plan.
Guarding the Wind Shield: Comprehensive Maintenance for the 1500 Kawasaki Motorcycle with Fairing
The 1500-class Kawasaki cruiser is built to eat long miles with a calm V-twin hum and a riding position that invites riders to settle in for the journey. When a fairing is added, that journey becomes cleaner, quieter, and more controlled—yet it also adds a layer of complexity to maintenance. The fairing is more than a cosmetic feature; it is an aerodynamic component that, when kept in good condition, protects the rider from wind, helps stabilize the bike at highway speeds, and preserves the overall balance of the machine. The maintenance approach for a Kawasaki motorcycle with a fairing should be steady, methodical, and future‑oriented, because the longevity of the fairing depends on small, consistent decisions just as much as on any dramatic repair. A pragmatic rider understands that care for the fairing has a direct correlation with ride comfort, handling, and even fuel efficiency, since clean surfaces maintain air flow and reduce drag that would otherwise require more effort from the engine. In practice, maintenance becomes a dialogue between protection and performance, a balance that keeps the bike looking sharp while preserving the dynamics that make it enjoyable to ride. Regular attention to the fairing can also prevent vibrations from turning into cracks, and it can stop minor imperfections from growing into costly repairs that disrupt a planned trip or commute. This perspective anchors the maintenance routine in reality: treat the fairing as a living part of the motorcycle rather than a static shell, and the rewards come in the form of a smoother ride, clearer sight lines, and a fairing that continues to contribute to the bike’s aerodynamic efficiency rather than degrade it through neglect. The guidance here is practical and purposefully compact, designed to sit alongside the rider’s daily routine rather than demand a separate, time-consuming ritual. The goal is simple: keep the fairing aligned, sealed, and pristine so that every mile under the helmet feels effortless and controlled, even when wind loads increase on the interstate or in exposed rural corridors. When you approach maintenance with this mindset, you begin to see the fairing not as a separate accessory but as a core component of the bike’s performance envelope. This approach also emphasizes compatibility considerations; not every repair or upgrade to a fairing will suit every model year or configuration. A seasoned rider keeps a quick reference to the owner’s manual or a trusted service guide, confirming mounting points, seal types, and compatible panel options before any work starts. In this way, maintenance becomes a sequence of informed decisions rather than a shot in the dark. The practice of careful inspection begins at the moment you wash the bike after a ride. A gentle rinse with low-pressure water avoids forcing water into seams or around fasteners where rust can seed and electrical connections can suffer. Use a mild soap or a dedicated motorcycle cleaner that respects painted plastic and gel-coated finishes. After washing, dry with a soft microfiber and inspect the fairing for loose bolts, cracks, or scratches that could propagate if left unattended. It is not unusual for mounting points near the headlight and instrument cluster to bear the brunt of vibration or impact exposure; these areas deserve particular care. If you find a fastener loose by even a quarter turn, address it promptly with the proper tool. Don’t over-tighten, which can stress the plastic and trigger cracks. Small fastener adjustments, done regularly, prevent bigger problems later and keep the fairing aligned with the windshield and side panels, preserving both aesthetics and aerodynamics. The paint and surface care deserve attention that respects the material of most fairings—painted plastic or gel-coated plastics. For minor swirls or light oxidation, a high-quality wax or sealant designed for gel-coated surfaces provides a shield against UV rays and environmental contaminants while restoring a healthy gloss. For deeper scratches or chips that break through the surface layer, professional touch-up options or repair kits that match color and finish are warranted. A well-executed color repair helps maintain not just appearance but the seal integrity of the surface. When the fairing has a defending role against weather, storage becomes another arena for protection. Off-season storage should be a controlled environment where moisture cannot creep into seams and cause rust or delamination. Use a breathable, custom-fit motorcycle cover that fits snugly and does not trap moisture. If possible, keep the bike in a climate-controlled space; temperature swings can stress the plastic and, over time, alter the fit of panel seams. The goal is to minimize humidity and direct sunlight exposure, which can fade colors and weaken seals. Even with a cover, it’s wise to check the fairing’s edges periodically for any trapped moisture or condensation that could indicate worn seals. The fairing houses essential components such as the headlight and instrument cluster, so electrical and sealing checks deserve a routine that blends with general maintenance. Periodically inspect the seals around the headlight, the instrument cluster housing, and any access panels for signs of wear or cracking. A compromised seal invites water ingress that can fog headlights, trigger electrical shorts, or corrode connectors. Clean connectors and dry mounting surfaces before resealing; replace worn seals promptly. If you encounter a persistent fogging issue within the headlight, it can point to more than a simple seal problem and may require professional attention to restore proper optics and electrical reliability. In some cases, broader repairs to the fairing panels or mounting hardware are best handled by a skilled body shop experienced with this class of motorcycle. The most important principle is to preserve proper alignment and vibration control. A misaligned fairing can create flutter at speed, which not only damages panels but also degrades aerodynamics and rider comfort. For this reason, any sign of panel movement, unusual noise, or rattling should be investigated promptly. If you have altered or added aftermarket fasteners or mounts, verify that the new assembly is evenly tightened and symmetrically aligned with the wheelbase and engine casing. Small discrepancies here can translate into a noticeably off-center wind wake and a feeling of instability at highway speeds. In terms of broader guidance, it is worthwhile to consult the official maintenance resources from the maker or a certified technician when considering significant work, such as replacing large panels, altering the fairing geometry, or installing new weatherproofing. Before purchasing new panels or attempting a major panel replacement, double-check compatibility with your exact model year and configuration, as frame design and mounting points can evolve over time. The right approach is iterative: inspect, confirm compatibility, and then proceed with measured steps. This careful philosophy helps ensure that every decision, from fastener choice to mounting offset, serves both the rider’s comfort and the bike’s handling envelope. A well-executed maintenance routine for the fairing pays dividends in reduced wind fatigue for the rider and more predictable handling for the chassis, especially when riding over long distances or in varied wind conditions. It also supports longevity: intact seals, clean electrical contacts, and preserved paint resist environmental and mechanical wear, keeping the bike looking sharp and performing consistently. To close the loop, integrate fairing maintenance into your regular service visits and checklists. A quick audit—cleaning, seal integrity, fastener security, and surface protection—can be done in an hour or so and prevents small issues from becoming expensive, disruptive problems. For riders who want to deepen their knowledge, the official service resources provide structured guidance and model-specific instructions that complement hands-on practice. And while the fairing’s primary function is to tame the wind, its condition is the telltale sign of rider stewardship: clean, aligned, and well-sealed pieces that harmonize with the engine’s character and the rider’s mission. For ongoing exploration of how fairing components influence airflow, rider comfort, and bike handling, see the external resource linked at the end of this chapter. Internal links to relevant parts of this site can be found in the Kawasaki fairings collection, which offers a practical starting point for riders seeking to understand compatibility and panel options. For example, you can explore a curated selection of Kawasaki fairings at this collection: Kawasaki fairings collection.
As a closing note, remember that maintenance is not only about keeping things clean; it is about preserving the relationship between the bike and rider. When you treat the fairing with care, you protect the experience of distance riding—where every mile is smoother, wind protection is reliable, and the bike’s aerodynamic profile remains as intended. The path to achieving this standard lies in a steady routine—wash, inspect, seal, and store with purpose—so that your 1500 Kawasaki cruiser remains the wind‑tamed companion you expect on every journey.
Final thoughts
In conclusion, equipping your 1500 Kawasaki motorcycle with an aftermarket fairing not only enhances its aesthetics but also significantly improves its overall performance and riding experience. Proper installation and regular maintenance of these fairings will ensure that your motorcycle remains in excellent condition while providing comfort and protection against the elements. Whether you’re a business owner considering a motorcycle for personal or professional use, investing in a fairing kit can be a wise decision. It transforms your riding experience while showcasing individuality and style.