Scratches on motorcycle fairings are more than cosmetic blemishes; they affect resale value, brand perception, and service workflow. For shop owners, the way a scratch is handled can influence turnaround times, customer confidence, and margins. This guide translates field-tested techniques into a practical framework: how to assess damage, apply safe DIY fixes for minor imperfections, execute repair methods for deeper blemishes, and decide when to bring in specialists. Each section builds a workflow that respects material realities (plastic fairings versus painted surfaces), avoids unnecessary costs, and aligns with safety and curing requirements. By standardizing these steps, a shop can deliver consistent results while protecting equipment, warranties, and customer trust. The content references reliable approaches tailored to plastic motorcycle fairings and emphasizes steps that scale from single bikes to full service bays. The chapters that follow translate a repair mindset into a business-ready process, from initial appraisal to professional restoration if needed, to ensure you maintain quality, reliability, and reputation.
null
null
Gentle Care: DIY Fixes for Very Light Scratches on Motorcycle Fairings
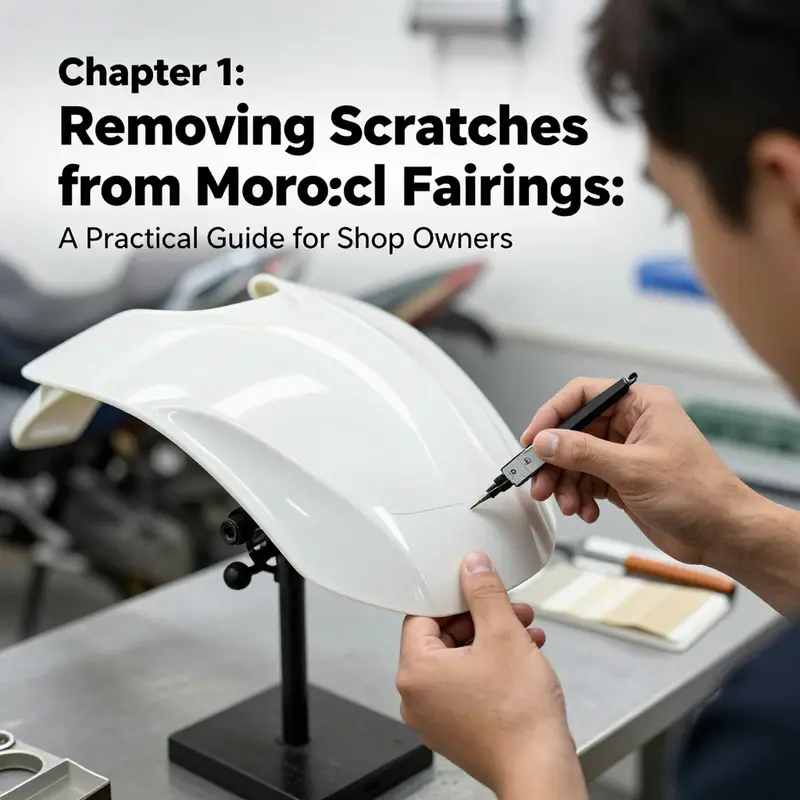
A motorcycle fairing is more than a surface; it sets the look of the bike and the ride. Very light scratches are micro imperfections that stay in the top clear layer and can dull the gloss without indicating structural damage. The aim is a steady, patient touch that smooths micro abrasions without removing material.
Begin with cleaning: establish a clean, wax free baseline. Remove dirt, oil and old wax with a mild degreaser or plastic cleaner, then rinse and dry with a lint free towel. Dry completely before you start. If you recently waxed the panel, wipe with a prep solvent to remove residue. A clean surface yields predictable results.
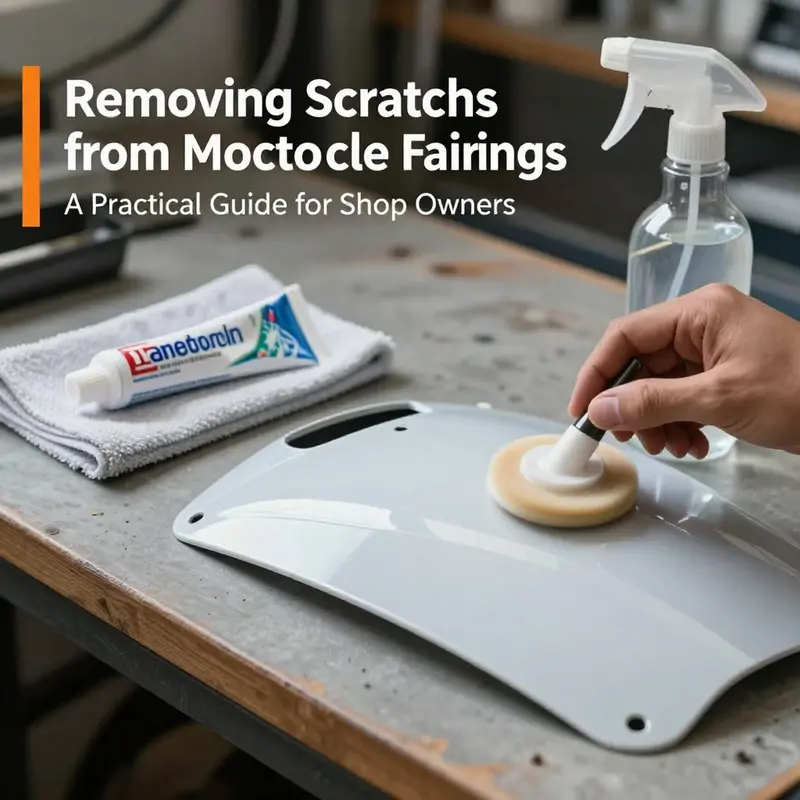
Polishing approach: use a fine automotive polishing compound designed to smooth micro imperfections without removing much clear coat. Put a small amount on a soft applicator and work the area with gentle circular motions, pad flat and light pressure to avoid new scratches or heat build up. Work in overlapping passes, small sections at a time, then wipe away residue and check. Very light scratches often respond with a shallow haze that smooths ridges that catch light.
Choice of tool: a dual action polisher can help produce uniform results with a soft pad at low speed, but hand polishing also works well. The key is consistency, not speed: slow, even passes and no dwell on one spot too long. After each pass, wipe clean and compare with surrounding area. If the scratch is barely visible, continue in small increments.
Testing and caution: test on a hidden area if possible. If the scratch resists or haze forms, reassess. It may indicate deeper damage or thinning clear coat. In those cases, switch to gentler options or professional help, but for most very light scratches the described approach works.
Temporary fixes: a very mild option is a small amount of toothpaste on a soft cloth, rubbed gently for 20 to 30 seconds. Wipe away with a damp cloth and dry. This is not a substitute for proper polishing, but can lessen the appearance when needed. Always test first on an inconspicuous area.
Finishing and protection: once the scratches are minimized, apply a dedicated plastic or automotive polishing compound, then a protective layer. A light wax or sealant adds gloss and helps guard against future micro scratches. Do not rush the process; patience matters. A typical sequence is polish, then optional toothpaste only if needed, then a protective coat.
Care and safety: ventilate well, wear protection when using solvents, and avoid exposing the surface to water or harsh chemicals for at least 24 hours after finishing to allow curing. Matte finishes may require different products that preserve texture, while gloss plastics benefit from polishing and protection.
Bottom line: very light scratches respond to careful cleaning, polishing and protection. If deeper flaws exist or the finish is matte, adapt the approach or seek professional assessment. The main idea is to restore clarity with control and preserve the fairing without repainting.
Restoring the Shield: Repair Techniques for Moderate to Deep Scratches on Motorcycle Fairings
A motorcycle’s fairing is more than a shield against wind and debris; it’s a canvas that bears the personality of the bike and the rider. When a scratch breaks through the clear coat and reaches the base layer, the challenge shifts from simple polishing to a controlled, layered repair that restores both appearance and structural integrity. This chapter threads together practical methods for those deeper blemishes, keeping the repair cohesive with the rest of the bike’s finish and avoiding the common pitfall of turning a cosmetic fix into a shape-altering job. The aim is not to repaint the entire panel, but to rebuild the damaged area with care, so the repaired patch blends seamlessly with its surroundings and remains durable through riding conditions, weather, and routine washings.
Scratches that penetrate beyond the clear coat into the paint or plastic usually tell a story about impact, heat, or abrasion. They disrupt the uniform lie of the surface and can trap moisture or wax residues in the recesses, which, in turn, dulls the final finish. The approach here emphasizes restoring alignment and depth as much as gloss. A well-executed repair starts with clean ground—a properly prepared surface that can hold new material and bond effectively. A degreaser or dedicated plastic cleaner is used to remove every trace of grease, wax, or silicone. Any contaminant left on the surface will tempt the repair to peel, crack, or fail to adhere properly. It’s worth taking extra minutes at this stage—the adhesion will be the difference between a repair that lasts and one that chips away after a few rides.
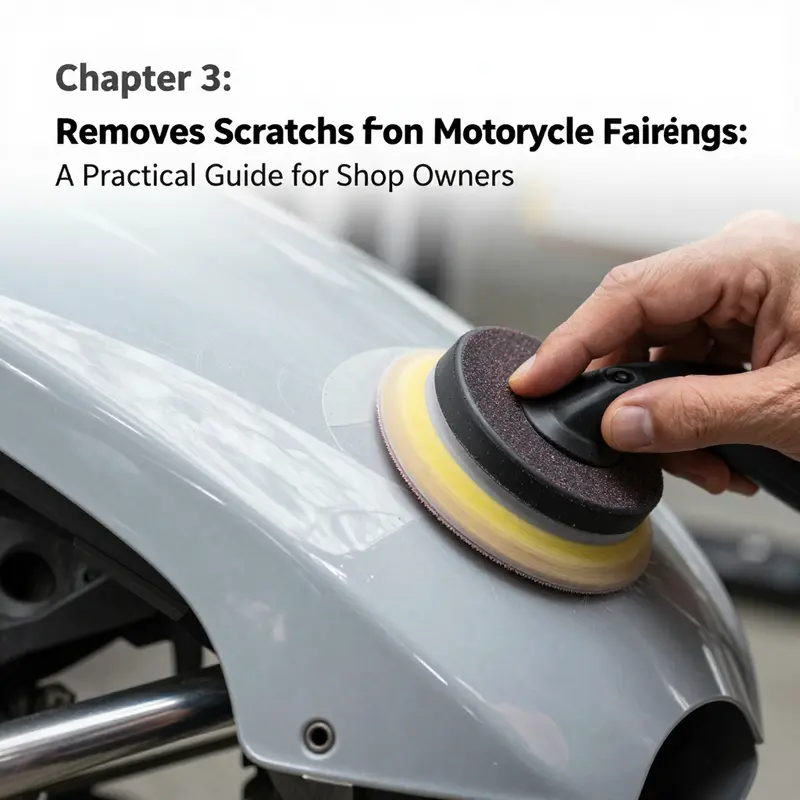
Once the surface is clean, the next step is to create a surface that adhesion can grab onto. Light sanding with a moderate grit, typically 800 to 1200, roughens the damaged area just enough to give the filler a grip. The goal isn’t to remove material aggressively but to produce a uniform microtexture across and just beyond the scratch’s edges. It’s here that the repair begins to leave the realm of a cosmetic touch-up and enters the realm of a true fix: the filler will fill, but it must bond to a properly prepared foundation to avoid sinking or cracking later.
For moderate to deep scratches, plastic body filler designed for automotive plastics becomes the key tool. A thin, even layer is applied over the scratch and extended slightly beyond its perimeter. The idea is to build back the original contour without creating a noticeable “lump” that the rest of the paint and clear coat will fight to cover. Filler work invites patience—cure times vary with temperature and humidity, and rushing this stage invites micro-porosity and poor adhesion. Once cured, the area is re-sanded with progressively finer grits, moving from 800–1200 up to 2000. The intention here is to achieve a flush surface that is barely perceptible to the touch, yet solid enough to accept color and a protective layer.
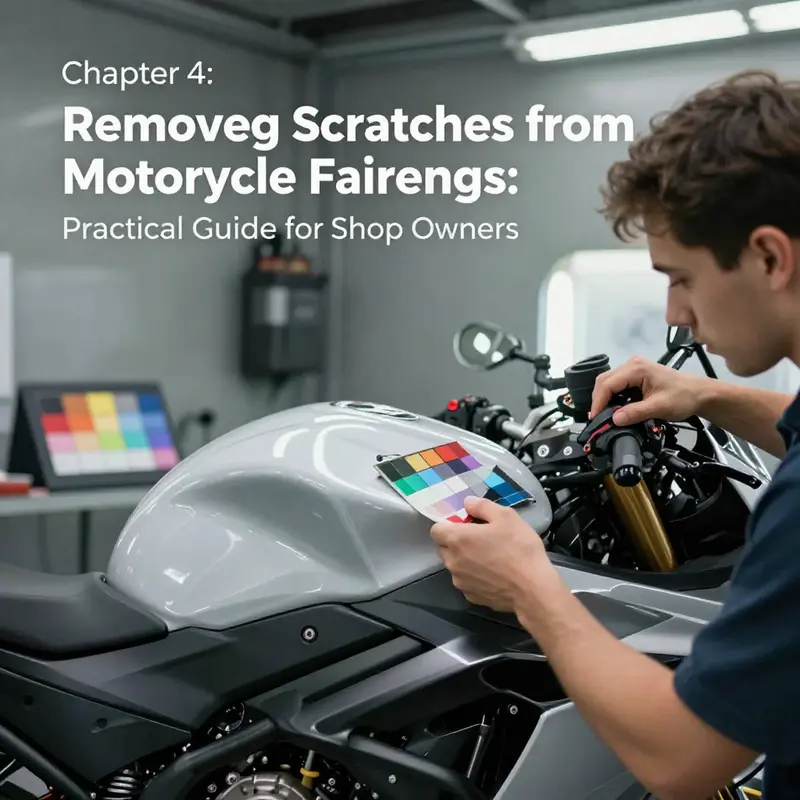
Color matching follows sanding. The repair sits on the interface between the original finish and the new material, so the goal is not to force color to leap from the rest of the fairing but to stage a bilingual conversation between the old and new. Color-matched touch-up paint is applied with care, either by a small brush for precision or by a controlled airbrush for a smoother spray. It’s essential to let the paint dry completely before proceeding. Rushing this step risks smearing, layering too heavily, or creating a mismatch where light reflects differently across the repaired area.
The next layer—the clear coat—plays a critical role in both protection and seamless blend. A clear coat applied over the painted repair seals the color and provides the depth and gloss that makes the area look intact again. It’s not merely about shine; the clear coat protects the repaired surface from UV exposure, moisture, and micro-scratches that might arise from washing or riding through dusty air. After the clear coat cures, a final polish is needed. A fine polishing compound is used to blend the edges of the repair into the surrounding fairing. The polishing step is where the repair begins to disappear from view, restoring the mirror-like finish that characterizes a well-maintained panel.
This sequence—clean, roughen, fill, sand, repaint, seal, and polish—results in a repair that stands up to heat, flex, and the occasional spray of rain. It’s important to note that the repair grounds itself in the type of material being treated. Plastic fairings respond well to plastic fillers, but if the surface beneath the paint is compromised or if the faux finish is unusual, the work might need adjustments. The color layer may require additional coats for an exact match, and in some cases, a base coat with metallic or pearlescent particles needs specialized blending to avoid a tell-tale stripe where the repaired area meets the original panel.
Beyond the technical steps, there are practical considerations that keep the process aligned with real-world riding. Work in a well-ventilated area, wearing gloves and a mask when sanding and applying fillers, to avoid inhalation of dust and solvent fumes. Temperature and humidity affect cure times and the behavior of fillers and paints; if it’s damp or cool, cure times lengthen, and you may need to adjust sanding intervals or environmental controls. It’s also wise to shield the surrounding fairing from overspray, especially when color matching within a single panel. A light touch with masking tape or edge guards can prevent accidental coverage where you don’t intend it. If the scratch spans a broad area or the underlying material is compromised deeply, it may be more efficient to consider a professional approach. A serialized repair plan from a shop can ensure exact color matching and a durable finish, particularly if the fairing has a metallic or pearl effect that challenges DIY blending.
With these steps in mind, the repair becomes more than a patch of color over a scar. It becomes a careful reconstruction of the fairing’s geometry and surface integrity. It’s a process where attention to the alignment of edges, the texture of the sanded surface, and the smoothness of the color gradient matters as much as the final gloss. The aim is to cast a repair that the eye notices only if it is looked for; the goal is a finish that can withstand the next ride, the next wash, and the next stretch of highway with the same quiet confidence you expect from an unscathed body panel. For riders who want to explore further, one can look into dedicated tutorials that illustrate the subtle nuances of sanding angles, the impact of different filler densities, and color-blending techniques that handle metallics and clear coats with greater finesse. Those resources can provide visuals to accompany the principles outlined here, and a broader set of scenarios beyond the moderate-to-deep scratch on a standard plastic fairing. See, for instance, a broad Yamaha fairings collection for practical examples of how color and texture interact across different model lines. Yamaha fairings collection.
As much as the method matters, so does the decision about when to fix and when to replace. If the damage runs into structural resin or the plastic has softened from heat or impact, a filler-only approach may not suffice. In those cases, repairing with color-matched paint and a clear top coat can still improve appearance, but it won’t restore the panel’s original strength. The professional option steps in here, offering precision repairs, color matching with factory-like accuracy, and the confidence that the finish will stand up to long-term riding. Keeping this boundary clear saves time, effort, and disappointment later on. It also keeps the repair aligned with the bike’s overall aesthetic, ensuring the repaired area reads as part of a cohesive whole rather than a separate patch.
For a broader understanding of fairing repair visuals and model-specific considerations, a detailed external guide provides step-by-step demonstrations and industry-tested tips. This resource complements the principles described here and offers insight into handling more complex finishes, including glossy black, metallic, and pearl finishes that demand careful color layering and shading. External reference: https://www.motorbikerepair.com/fix-scratches-on-motorcycle-fairings.
When to Call in the Pros: Safety, Skill, and the Realities of Restoring Motorcycle Fairings
Scratches on a motorcycle fairing carry more meaning than a simple surface flaw. They can reveal the thin line between a superficial blemish and a compromise in strength or appearance that might affect aerodynamics, finish durability, or even riding safety. This chapter moves beyond quick fixes and into the decisions that separate DIY happy hacks from professional restoration. The core question is not just how deep a scratch is, but what lies beneath it, what materials are involved, and how restoration choices will hold up under sun, rain, and the flex of a rider’s everyday use. Understanding these factors helps riders decide when a repair is a feasible weekend project and when it calls for the precision and tools of a certified technician. The aim is to preserve or restore the fairing’s integrity while keeping costs sensible and the finish consistent with the rest of the bike, especially on high-visibility panels where color and gloss must marry to the original look.
Assessing the damage begins with a clear, practical appraisal. Very light surface scratches that have not penetrated the clear coat or paint layer may respond to careful polishing, but once there are signs of the base material at the scratch, the repair ceases to be cosmetic alone. In these cases, a professional assessment can determine whether the damage is limited to appearance or if it intrudes into structural or mounting areas. A professional shop will start with a thorough cleaning using a degreaser to remove dirt, wax, and oils that could impede adhesion. This step is essential because any residual grease can prevent primers or fillers from sticking properly and may later lead to adhesion failures that show as peels or delamination. The importance of cleanliness cannot be overstated; a clean surface gives the rest of the process a fighting chance to yield a durable, uniform finish.
In the hands of a skilled technician, the next phase involves a careful balance of material knowledge and technique. For scratches that have not breached the base, fine abrasives are used to blend the edge of the damaged zone with the surrounding surface. Professionals commonly employ fine-grit sanding, typically in the range of 600–1200 grit for plastics, to avoid creating new lines or thinning the plastic where it is not needed. The goal is not to grind away material but to soften the transition so that the repaired area can accept filler and paint without a visible ridge. This is especially important on ABS or polycarbonate fairings, where heat, solvents, and rough handling can alter the surface chemistry and lead to future hazing or cracking if overworked. The sanding, performed with deliberate, even strokes, must be done wet or with adequate lubrication to minimize heat buildup and to manage dust. A light touch here is a sign of experience; the moment pressure becomes aggressive, the risk of introducing new scratches or weakening the plastic grows.
Where deeper damage is present—where the scratch has actually opened into the primer or the base plastic—the repair path becomes more involved. A professional will typically fill voids with a plastic-compatible filler or epoxy designed for the specific resin system, followed by sanding to achieve a flush, seamless surface. The sanding sequence rarely ends at high grit alone; successive stages of finer abrasive are used to eliminate any traces of filler and to create a surface that accepts paint evenly. The color-matching phase then follows, which requires a spray system in a controlled environment. A color-matched plastic paint is applied in multiple thin coats, each allowed to flash off to prevent drips and texture anomalies. After painting, a clear coat is often applied to provide UV protection and to help the finish resist chalking and micro-scratches. The final step is careful polishing with a fine compound and, in many shops, a dual-action polisher to restore the gloss and to help the repaired area blend with the rest of the fairing. This sequence is designed to produce a finish that is visually indistinguishable from the factory surface and durable enough to withstand riding conditions.
Even with the best technique, every renovation carries safety considerations. Working in a well-ventilated area is non-negotiable. Exposure to solvents, primers, hardeners, and spray paints can release volatile organic compounds that irritate the eyes, nose, and lungs. PPE such as respirators, gloves, and eye protection should be standard practice for anyone handling these materials. Fires are a non-trivial risk because many components involved in plastic repair are flammable. Keeping ignition sources away, ensuring proper ventilation, and having fire safety equipment on hand are prudent precautions. The color-matching paints and clear coats themselves can require extended cure times, often 24–48 hours or more, depending on temperature and humidity. Pedestrian advice about “quick fixes” dissolves under the weight of these realities; a proper repair waits for these curing windows to ensure adhesion and durability rather than risking early failure.
Material considerations add a layer of nuance. ABS, commonly used in contemporary fairings, behaves differently from fiberglass or polycarbonate blends. Hairline heat or aggressive solvents can distort or warp ABS, yet it remains more forgiving than some other plastics if treated carefully. Heat guns, while tempting to speed up drying or to reshape a slightly deformed area, are illegal shortcuts in this context; ABS can warp at modest temperatures if temperature control is not precise. The professional does not simply smear filler and call it a day. They test the area for heat tolerance, examine the grain of the plastic, and determine whether a full primer and repaint are necessary or if a touch-up plus clear coat may suffice. For larger or more complex repairs, or for panels with curved geometry or multiple layers of paint and clear, a professional restoration becomes the most reliable route. In such cases, attempting DIY fixes risks mismatched hues, warped shapes, or poor adhesion that becomes visible even after months of use.
The decision to seek professional restoration is often influenced by the extent and location of the damage. Scratches that reveal the underlying primer, or worse, the base plastic, are red flags. When the damage spans a large area or sits on highly visible panels such as the front fairing or tank, the visual outcome is critical. Aesthetics aside, there is also a safety dimension: compromised structural integrity or misaligned panels can affect aerodynamics and protection of vital components. In these situations, a certified technician brings not only tools but color-matching technology and a controlled spray environment that yields a seamless, uniform finish. The most important part of the decision is honesty about the limits of DIY capabilities. If the scratch is near mounting points, along edges, or across curves that influence airflow, the risk of a poor repair increases, and professional evaluation provides a more predictable outcome.
For riders who are curious about sourcing replacement panels or OEM-style options, the choice of parts can influence the overall repair strategy. Exploring a dedicated collection of fairing components, such as a Honda fairings range, can offer OEM-compatible panels that restore both appearance and fit. See the Honda fairings collection for a sense of the available options and how a replacement panel might align with repair plans. Honda fairings collection.
Ultimately, the goal of a professional restoration is to deliver a result that withstands riding life and weather without repeating the original problem. The process may involve a combination of filler work, priming, precise color tinting, and a multi-coat finish that reproduces the texture and depth of the factory gloss. Complex repairs—particularly on fiberglass or polycarbonate fairings—may require materials and adhesives that are outside typical DIY kits. In such cases, a trained technician with the right tools can manage the resin systems, bond lines, and substrate differences that affect adhesion and long-term durability. The professional shop can also assess whether underlying structural components, like mounting brackets or internal ribs, have been compromised and need attention before a cosmetic fix is deemed complete.
As with any major repair, timing matters. After a comprehensive repair, surfaces must cure fully before exposure to water, cleaning agents, or riding stresses. Even a carefully executed repair should be protected from aggressive soaps, wax removers, and direct pressure washing until the manufacturer-recommended curing window has passed. This disciplined approach helps avoid delamination, micro-cracking, or color mismatch that would otherwise undermine the repair’s longevity. The rider benefits from a repaired fairing that not only looks right but also stands up to the expectations of speed, wind, and vibration.
In the larger arc of maintenance, safety remains central. The decision to pursue professional restoration rather than a DIY fix is a choice that protects both the rider and the machine. While minor surface scratches can be coaxed back to life with patient buffing and non-harsh polymers, deeper scares demand the confidence and precision of trained hands. If the damage is extensive, if it intersects with structural integrity, or if the finish must be color-accurate for appearance or resale value, a professional restoration should be the path forward. The context of the repair—whether it is a routine cosmetic refresh or a necessary structural rebuild—determines not only the method but the overall cost, time, and satisfaction of the outcome.
For riders who want to broaden their understanding of the repair landscape and to compare approaches, a broader repair perspective is available in trusted automotive repair guides that discuss scratch repair in plastics and composite panels. These external resources provide additional context on process steps, safety practices, and material considerations that align with the realities described here. You can explore the broader discussion at the Motorcycle.com scratch repair guide, which offers an external viewpoint on how professionals think about repairs and the cautions they emphasize: Motorcycle.com scratch repair guide.
Final thoughts
A structured approach to removing scratches from motorcycle fairings supports profitability and reputation. Start with an accurate depth assessment and material identification, then select the proper method for that category. Very light surface scratches respond to safe polishing; moderate scratches may need sanding and polishing; deep or structural damage requires specialized kits or professional restoration. Always follow curing times, ventilation, and PPE guidelines, particularly when solvents or paints are involved. Document outcomes for each repair, track costs, and adjust pricing to reflect skill level and turnaround. By building standard operating procedures around these steps, your shop can offer transparent service, consistent results, and scalable workflows that reduce return visits and warranty claims. The result is not just a repaired fairing but a stronger customer relationship and a more resilient business.