Motorcycle fairings, the protective shells that mold the exterior of your bike, are essential not just for aesthetics, but also for performance and safety. When damage occurs, choosing the correct body filler is crucial for restoring these components effectively. Not all fillers are created equal; it is vital for business owners in the motorcycle industry to understand the proper options available. This guide explores the critical factors to consider when choosing a body filler, delves into the unique properties of epoxy-based fillers, discusses essential surface preparation techniques, and presents recommended brands that provide reliability and performance in repairing motorcycle fairings.
Flex, Finish, and Flight: How to Choose the Best Body Filler for Motorcycle Fairings

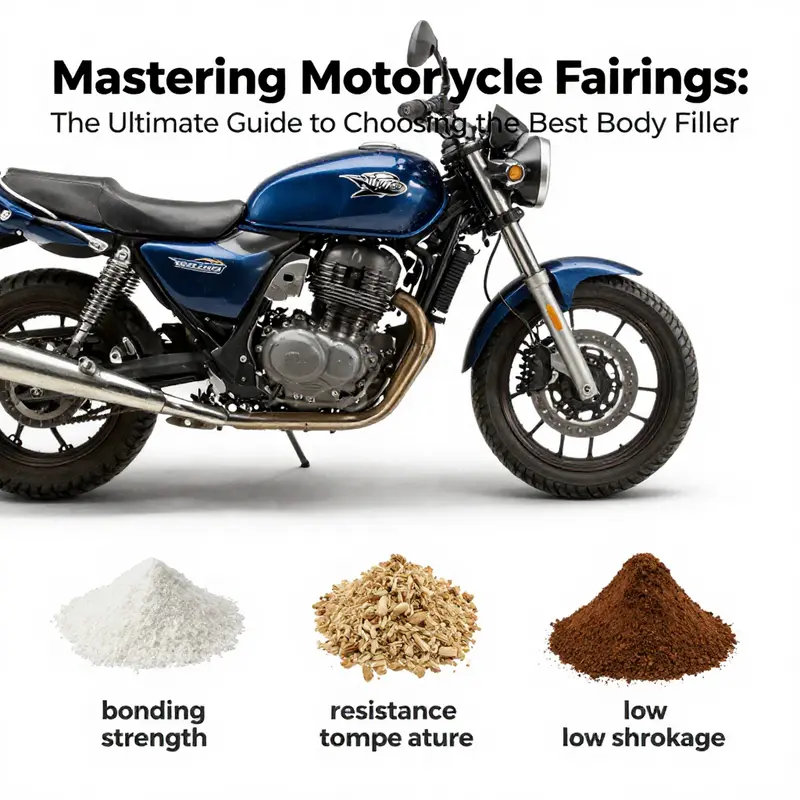
Selecting the right body filler for motorcycle fairings is about adhesion, flexibility, and finish quality. Two-part epoxy fillers offer strength and good bonding to common fairing substrates like ABS plastic and fiberglass, with minimal shrinkage and stable performance under heat and vibration. For plastic fairings, surface compatibility matters as much as the filler chemistry, so choose a plastic-specific primer and a surface prep routine that includes thorough cleaning and light scuffing. Urethane-based fillers add essential elasticity to cope with thermal cycling and flexing, helping prevent cracks and debonding over time. Practical finishing means applying thin, layered coats rather than one thick skim, allowing each layer to cure and sanding gradually to a smooth, paint-ready surface. Moisture and UV resistance are important, so opt for fillers and primers designed for plastics and climate conditions, and verify full cure before priming. In short: match the filler to the substrate, prepare the surface properly, and follow a deliberate, layered finishing process to achieve a durable, polished fairing that holds up under riding conditions. See also manufacturer guidance for plastic bumpers and fairings.
null
null
Surface Prep Mastery for Durable Epoxy Filler on Motorcycle Fairings

Every repair on a motorcycle fairing begins with making the surface receptive to glue, filler, and paint. The goal is not simply to fill a dent but to create a bond that can endure the daily flex and heat cycles of riding. ABS plastic and fiberglass panels demand a prep that respects their material behavior, and the best epoxy filler only shows its value when the surface is properly prepared. The prep sequence is a chain: clean, texture, prime, fill, cure, sand, and re-prime as needed. Skipping any step or rushing through the process invites adhesion failure that becomes visible after paint.\n\nCleanliness is the foundation. Contaminants such as wax, grease, oil, or old polish create a barrier that blocks adhesion. Use a dedicated plastic-safe cleaner and wax/grease remover, then wipe with a lint-free towel until the surface reads matte and dry. If you feel any slickness with a gloved finger, you haven’t finished. A clean base is essential in rain, sun, and engine heat, where tiny residues can hide in crevices and later sabotage the bond.\n\nTexture is next. Light abrasion with 400–600 grit paper dulls the surface and creates a micro-roughness that improves mechanical interlock without creating visible scratches after paint. The texture should be even and shallow enough that it won’t telegraph through the topcoat. The aim is to give the epoxy something to grab while keeping the substrate flat enough to accept primer and paint without showing sanding marks.\n\nPriming before filler may feel counterintuitive, but a flexible primer designed for plastics helps absorb minor movements and reduces the risk of cracks at the filler–substrate interface. Apply a coat of plastic-compatible primer after texturing and cleaning, then let it cure to a tacky state. The primer acts as a compliant layer that the filler can bond to more reliably as the panel experiences vibration and temperature changes.\n\nFilling follows with a high-quality two‑part epoxy that adheres well to plastics and exhibits minimal shrinkage. Apply thin coats, cure per the manufacturer’s directions, and assess the contour after each layer. Feather the edges where the repaired area meets the original surface to create a seamless transition. Feathering is not just cosmetic; it reduces sanding effort and helps the final paint sit evenly.\n\nSanding should be progressive and controlled. Start with a mid-range grit (320–400) to establish the shape, then move to finer grits (600–800) for a smooth contour. Avoid heavy hands that flatten curves or create high spots. The objective is to remove excess material without rounding edges that define the bike’s lines.\n\nAfter shaping, inspect the surface under good light. If feathering is fully integrated and the surface is uniformly flat, you may re-prime lightly before topcoating. If any low spots or ridges remain, apply a thin additional filler pass and re-sand. The repeat cycle—fill, cure, sand, re-prime as needed—ensures a durable bond and a clean final finish.\n\nSubstrate differences matter. ABS can tolerate light sanding and responds well to compatible primers and fillers, while fiberglass may require surface sealing to prevent print-through. In both cases, start with a plastic-friendly primer, then use an epoxy filler that respects the substrate’s thermal expansion and vibration characteristics. The outcome is a repair that remains solid under heat and motion and looks like part of the bike rather than a patch.\n
Two-Part Epoxy Fillers for Motorcycle Fairings: Adhesion, Preparation, and Finish
Whenever a rider inspects a damaged fairing, the repair question extends beyond smoothing a dent. Two-part epoxy fillers provide a durable base that can bond to plastic such as ABS and to fiberglass composites common in motorcycle panels. Proper selection and preparation are key to long lasting repairs. Epoxies cure via a crosslinked network that builds strength, flexibility, and chemical resistance, which helps the repaired area move with the substrate during heat cycles and road vibration.
The following chapters outline how to evaluate substrates, choose a suitable epoxy filler system, prepare the surface, mix and apply, reinforce if needed, and finish with primer and paint that match the rest of the fairing. The emphasis is on practical, substrate aware steps rather than marketing claims.
Preparation is the gatekeeper of adhesion. Clean, dry surfaces free of wax, silicone, and old paint are essential. Light abrasion creates a mechanical key for the epoxy. A dedicated plastic primer helps seal the surface and blocks plasticizers that can migrate from the substrate and undermine adhesion over time. Always verify that the area is completely dry before mixing begins.
Mixing and application require discipline. Follow the product instructions for resin to hardener ratios, pot life, and cure times. Mix thoroughly until the color is uniform, then apply in thin, even coats. In most cases, multiple layers provide better control over contour and reduce the risk of air pockets, pinholes, or sagging. For seams or cracks, a fabric or mesh patch embedded in the initial coats can add strength while preserving a feathered edge for painting.
Shaping and finishing are the steps that reveal the true value of the repair. Sand progressively from coarse to fine grits, keeping the surface flat and blending edges into the surrounding fairing. Wet sanding reduces heat build up and dust. After shaping, apply a compatible plastic primer that promotes adhesion and uniform color under the final paint. The goal is a repair that feels and looks like the factory part once painted, with a finish that ages in step with the rest of the panel.
Finally, recognize when a repair is too extensive for epoxy fillers alone. Deep structural damage, a compromised core, or a panel with multiple impacts may require reinforcement, backing, or panel replacement. In such cases, the epoxy repair complements the broader restoration strategy rather than masking a fundamental fault. This approach preserves safety, aesthetics, and long term durability of the motorcycle bodywork.
Final thoughts
Understanding the best body fillers for motorcycle fairings is essential for business owners aiming to deliver high-quality repairs and enhancements. By considering critical factors like bonding strength and flexibility in epoxy-based fillers, and ensuring proper surface preparation, businesses can set the standard for performance and durability in repairs. Furthermore, selecting recommended brands will ensure reliability and satisfaction in your repair processes.