Introduction
Motorcycle fairings are essential not only for aesthetics but also for performance and protection. For business owners specializing in repairs, customizations, or aftermarket parts, mastering the art of body filler application can significantly enhance their service quality and customer satisfaction. Selecting the optimal body filler, applying it correctly to prevent sagging, sanding to achieve a flawless finish, and ensuring durability against weather and vibration are critical steps in delivering top-tier results. Additionally, post-application processes, such as priming and painting, play a vital role in extending repair life and visual appeal. This guide will explore each stage of the body filler process on motorcycle fairings, focusing on material compatibility, application techniques, surface preparation, and curing protocols necessary to secure durable, high-quality repairs that meet the demands of motorcycle use.
Tables of Contents
Chapter 1: Selecting the Optimal Body Filler for Motorcycle Fairings: Material Compatibility and Adhesion
- Navigating Material Compatibility and Adhesion Challenges for Durable Motorcycle Fairing Repairs
- Mastering Surface Preparation and Adhesion Techniques for Durable Motorcycle Fairing Repairs
Chapter 2: Application Techniques for Body Filler on Motorcycle Fairings: Ensuring Non-Sagging and Smooth Finish
- Mastering Surface Preparation and Layering Tactics to Achieve Flawless Body Filler Results on Motorcycle Fairings
- Precision in Mixing, Application, and Finishing for Flawless Body Filler on Motorcycle Fairings
Chapter 3: Sanding and Shaping Body Filler on Motorcycle Fairings: Achieving a Flawless Surface
- Optimizing Material Choices and Application Techniques for Precision Sanding and Shaping on Motorcycle Fairings
- Mastering Sanding Progression and Surface Prep for Smooth, Durable Motorcycle Fairing Repairs
Chapter 4: Durability and Weather Resistance of Body Filler for Motorcycle Fairings: Performance Considerations
- Mechanical Strength and Environmental Resilience: Essential Qualities of Body Fillers for Motorcycle Fairings
- Enhancing Longevity of Motorcycle Fairings: Mastering Chemical and Environmental Resistance in Body Fillers
Chapter 5: Post-Application Processes for Body Filler on Motorcycle Fairings: Priming and Painting for Longevity
- Mastering Sanding and Priming for Durable, Flawless Motorcycle Fairing Repairs
- Mastering Surface Preparation, Priming, and Coating Techniques for Durable Motorcycle Fairing Repairs
Chapter 6: Surface Preparation and Curing Protocols for Body Filler Application on Motorcycle Fairings
- Mastering Surface Preparation: Essential Techniques for Flawless Body Filler Application on Motorcycle Fairings
- Mastering Curing Conditions and Environmental Controls for Flawless Motorcycle Fairing Repairs
Chapter 1: Selecting the Optimal Body Filler for Motorcycle Fairings: Material Compatibility and Adhesion
1. Navigating Material Compatibility and Adhesion Challenges for Durable Motorcycle Fairing Repairs
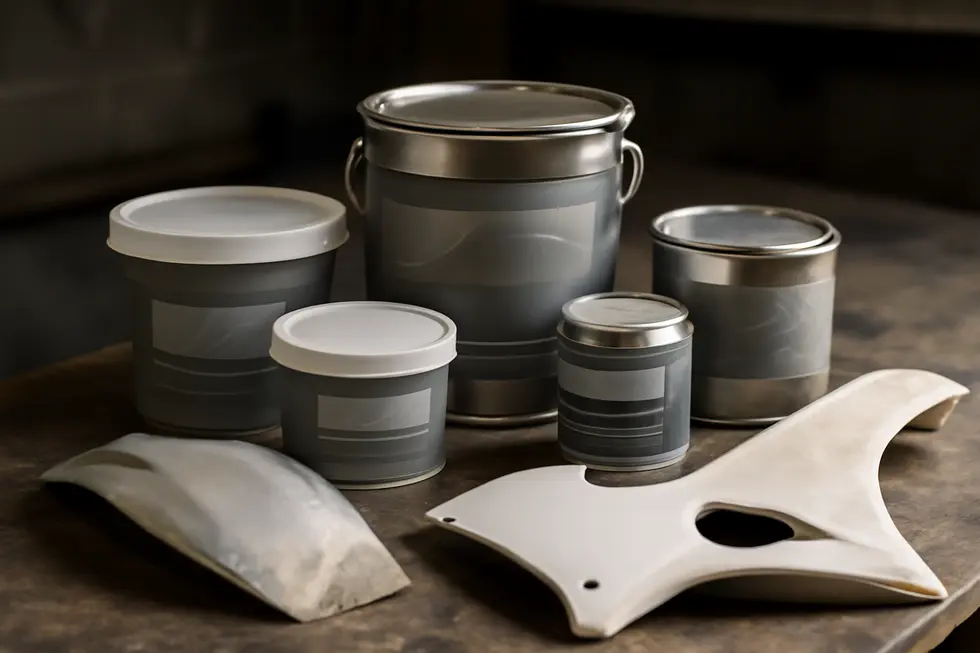
Motorcycle fairings are commonly crafted from materials such as ABS plastic, carbon fiber composites, and fiberglass, each demanding specific body filler characteristics to ensure effective, lasting repairs. Selecting a filler begins with ensuring chemical compatibility; fillers containing harsh solvents can weaken plastics like ABS or acrylic, causing warping or stress cracks. For this reason, epoxy-based fillers designed for plastic or composite surfaces are preferred, as they avoid aggressive chemicals that might compromise the fairing’s integrity.
Equally critical is adhesion combined with flexibility. Motorcycle fairings endure constant vibration, thermal expansion, and impacts that stress repair materials. Therefore, an ideal body filler must bond securely to the substrate while retaining enough flexibility to move with the fairing without cracking or detaching. Using flexible fillers and compatible primers tailored for plastics enhances this bond, safeguarding the repair over time.
Moreover, these materials must withstand environmental factors such as UV exposure, moisture, and temperature swings. This is especially vital for carbon fiber fairings that face direct sunlight. Fillers resistant to such conditions prevent degradation, discoloration, and loss of structural integrity.
Before application, thorough surface cleaning and sanding are essential to remove contaminants that impede adhesion. Employing a plastic-compatible primer further ensures a strong interface between filler and substrate. It’s also important to avoid chemicals that may damage adjacent components during cleaning or repair.
By understanding these material and adhesion dynamics, motorcyclists and technicians can select a body filler that not only restores but preserves the fairing’s performance and appearance. For expanded insights on compatible adhesives and paint systems dedicated to motorcycle plastics, explore the detailed guidance offered by the Summit Fairings blog.
2. Mastering Surface Preparation and Adhesion Techniques for Durable Motorcycle Fairing Repairs
Achieving a lasting, seamless repair on motorcycle fairings begins with meticulous surface preparation tailored to the fairing’s material. Thorough cleaning removes all dirt, grease, and contaminants that could impair adhesion. Following this, sanding is essential to create a roughened texture that promotes a strong mechanical bond between the filler and substrate. Plastic fairings benefit most from fine to medium grit sanding pads—typically between 600 and 800 grit—to gently scuff the surface without causing damage or compromising structural integrity. Fiberglass surfaces, meanwhile, require sanding followed by the application of a high-quality primer, and optionally a gel coat layer, which enhances both durability and filler adhesion by providing a uniform, receptive base.
Using primers specifically formulated for the fairing material is critical. Automotive primer surfacers improve adhesion and smooth out surface irregularities, but when working with plastic components, it’s essential to confirm compatibility to avoid issues such as cracking or peeling after filler application. Portions made of fiberglass respond well to polyester or epoxy-based fillers after proper priming, while metal sections require fillers and primers designed to prevent corrosion and ensure a secure bond.
Applying filler in thin, even layers is another vital step. This method prevents sagging and allows each coat to cure properly, ensuring adhesion remains strong and the repair withstands vibration and weather exposure. By combining these detailed preparation and adhesion strategies, repairs on motorcycle fairings become durable and visually flawless, harmonizing with the fairing’s original contours and finish.
For more insight on ensuring high-quality fairings that complement expertly applied body fillers, consider exploring affordable motorcycle fairings that meet high standards of material compatibility and design.
Chapter 2: Application Techniques for Body Filler on Motorcycle Fairings: Ensuring Non-Sagging and Smooth Finish
1. Mastering Surface Preparation and Layering Tactics to Achieve Flawless Body Filler Results on Motorcycle Fairings
Achieving a non-sagging, smooth finish on motorcycle fairings hinges on meticulous surface preparation combined with precise layering strategies during body filler application. The process begins with thoroughly cleaning the fairing to eliminate all dirt, grease, and wax residues that could undermine adhesion. Once clean, the surface should be sanded with coarse grit sandpaper, typically between 80 and 120 grit, which effectively roughens the plastic or fiberglass, creating a texture to lock the filler in place. After sanding, it is essential to remove all dust and debris; this guarantees the repairs adhere properly and reduces imperfections.
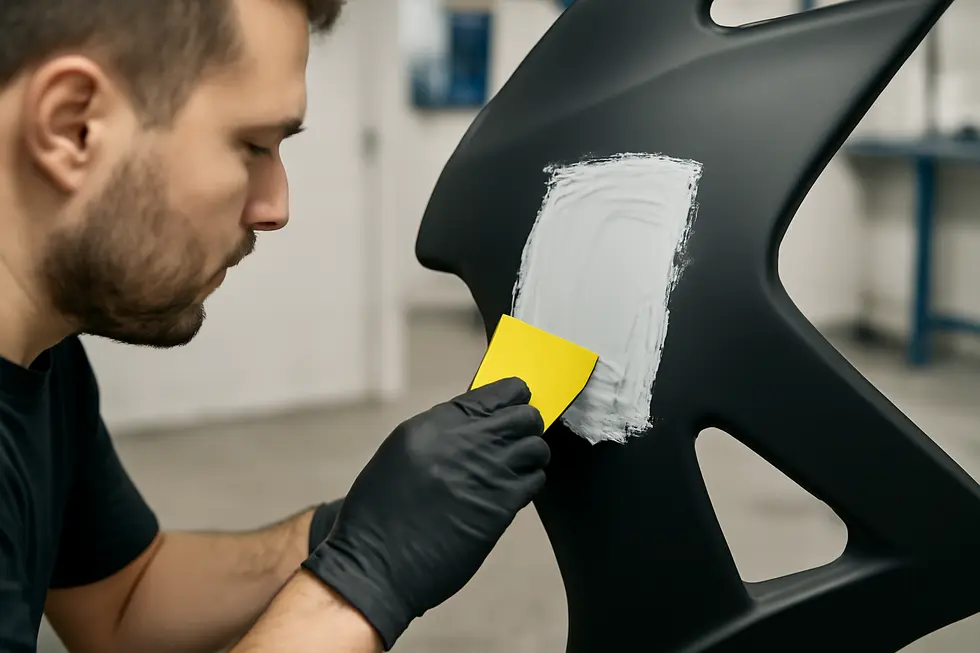
For plastic and fiberglass fairings, applying a specialized adhesion promoter or plastic-compatible primer further enhances bonding, making subsequent layers more durable and less prone to sagging. When applying the filler, rather than a single thick coat, the material should be applied in thin, even layers. This method minimizes gravity-induced sagging, especially on vertical and curved surfaces common in motorcycle fairings. Using a spreader to feather the edges helps transition the filler smoothly into the existing surface, reducing extensive sanding needs later.
Each layer must cure fully according to manufacturer guidelines before the next application. This patience preserves the material’s integrity and optimizes adhesion. For work on overhead or vertical panels, fillers designed specifically for such orientations—or adding a thickener—can prevent slippage. Once the final layer has cured, progressive sanding with finer grits (180 to 320) produces a silky smooth base ready for priming and painting.
These well-integrated steps balance workability, adhesion, and finish quality, ensuring body filler stability and a professional-grade smoothness. For detailed visual guidance on these preparation and layering techniques, resources like professional paint prep tutorials from trusted sources offer invaluable insights.
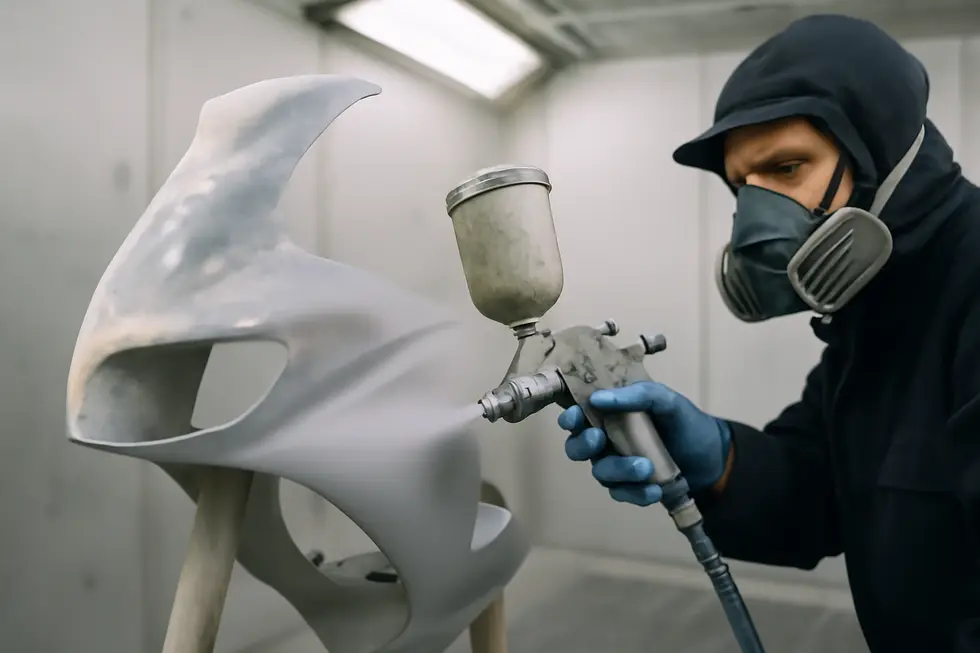
2. Precision in Mixing, Application, and Finishing for Flawless Body Filler on Motorcycle Fairings
Applying body filler to motorcycle fairings demands meticulous attention to the mixing, application, and finishing stages to guarantee a non-sagging, smooth, and durable repair. The process begins with correctly combining filler and hardener, strictly following manufacturer ratios to ensure consistent curing. Mixing only the amount that can be applied before the filler sets is essential to avoid waste and uneven texture. Stirring thoroughly eliminates lumps, promoting even hardening and adhesion.
When applying, layering thin, uniform coats with a flexible plastic spreader prevents sagging on vertical or contoured sections of the fairing. Pressing filler firmly into cracks or dents strengthens adhesion and fills imperfections without air pockets. Speed and care are crucial—working swiftly within the filler’s limited working time ensures strong bonding before hardening. Allowing each layer to fully cure before adding another builds up a solid, smooth base.
Finishing involves progressive sanding, starting with coarser grits to shape and remove excess material, then honing with finer grits for a seamless surface. Wet sanding is recommended for the last stages to minimize dust and reveal a flawless finish. Cleaning the surface thoroughly after sanding is vital before applying primer or paint to ensure lasting adhesion. Additionally, securing fairings firmly on at least three points helps reduce flexing and vibration, further supporting the filler’s integrity during curing.
Attending to these detailed steps ensures repairs that not only look professional but withstand the demands of motorcycle use. For more on maintaining and restoring fairings, explore summitfairings.com’s comprehensive fairing resources.
For further guidance on industry-standard techniques, refer to professional refinishing practices found here source.
Chapter 3: Sanding and Shaping Body Filler on Motorcycle Fairings: Achieving a Flawless Surface
1. Optimizing Material Choices and Application Techniques for Precision Sanding and Shaping on Motorcycle Fairings
Achieving a flawless finish on motorcycle fairings begins with selecting the right materials and mastering application techniques tailored for the unique demands of plastic and fiberglass surfaces. Since fairings often consist of ABS or fiberglass-reinforced plastic, using a high-quality polyester body filler formulated for automotive plastics is critical to ensure excellent adhesion and durability. Starting with coarse grit sandpaper—between 80 and 120 grit—allows rough shaping of the filler, progressively smoothing with finer grits up to 400 grit to refine contours and surface texture before primer application.
Preparation includes lightly sanding the raw fairing surface with 400 grit sandpaper to remove texture and create a key for adhesion. Applying a thin mist coat of an adhesion promoter designed for plastics enhances bonding strength and prevents peeling. Body filler should be mixed and applied in thin, manageable layers, curing completely before sanding to avoid cracks or unevenness. Using a dustless sanding block or fine sanding tools helps maintain flatness and smoothness, avoiding gouges or high spots.
After sanding, a filler primer fills minor imperfections, creating an even surface that ensures uniform paint adhesion. For larger or curved areas, corded or cordless belt sanders and tube sanders offer consistent pressure and smooth results, aiding shaping precision. Wet sanding with ultra-fine grits between clear coats further polishes the surface to perfection.
Following manufacturer drying times and safety precautions like working in well-ventilated spaces and using protective gear is essential for quality and safety. These carefully balanced materials and steps establish a strong foundation for a professional finish that withstands vibration, weather, and the rigors of motorcycle use.
For more insights into prepping and painting plastic components, refer to expert visual tutorials such as the guide by Kevin Tetz on surface preparation and painting.
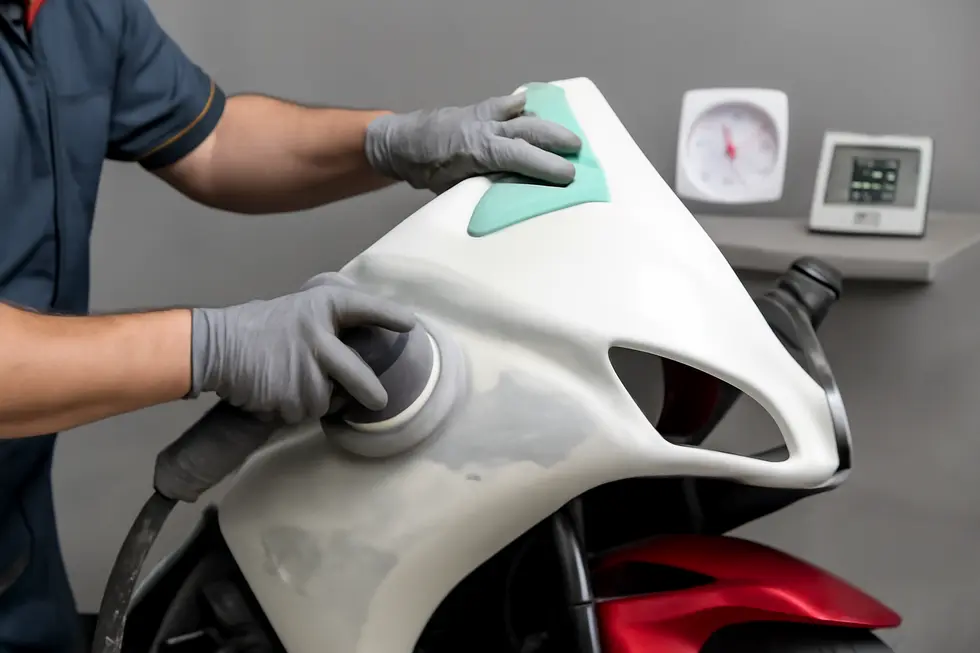
2. Mastering Sanding Progression and Surface Prep for Smooth, Durable Motorcycle Fairing Repairs
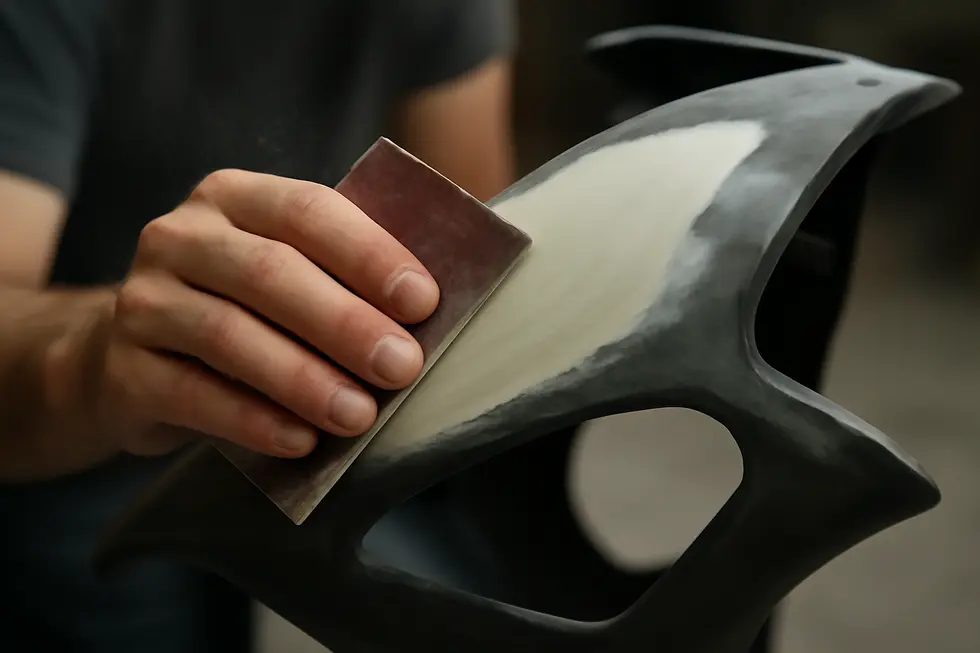
Achieving a flawless surface when sanding and shaping body filler on motorcycle fairings relies heavily on a methodical progression of sanding grits combined with meticulous surface preparation. Begin with coarse sandpaper, typically between 80 and 120 grit, to roughly level and shape the filler, ensuring high spots are removed and the contour matches the fairing’s natural curves. Using a sanding block or a flexible sanding pad helps maintain even pressure and avoid unintended dips or waves. Gradually step up to finer grits—180, 220, and then around 320—systematically smoothing the surface and erasing scratches left by coarser papers. Near the final stages, wet sanding with very fine grits like 400 to 600 provides the smooth finish necessary for primer adhesion, minimizing visible imperfections.
Surface preparation is equally critical: only sand once the body filler is fully cured to prevent deformation. Between each sanding phase, thoroughly remove dust and debris to prevent scratches or contaminants from embedding into the surface. Lightly sanding the adjacent fairing material creates a mechanical key, enhancing filler adhesion and overall bonding strength. Finally, a careful cleaning with wax and grease remover ensures the surface is free of oils or residues that could compromise primer and paint adherence. These detailed steps, adapted from composite and automotive repair practices, set the stage for a paint-ready surface that withstands the rigors of riding.
For a deeper dive into quality motorcycle fairing repair materials and finishing techniques, explore available expert tips and product choices that can elevate the professionalism of your restoration.
Chapter 4: Durability and Weather Resistance of Body Filler for Motorcycle Fairings: Performance Considerations
1. Mechanical Strength and Environmental Resilience: Essential Qualities of Body Fillers for Motorcycle Fairings
Body fillers for motorcycle fairings must combine mechanical strength with environmental resilience to endure the unique stresses and weathering encountered on the road. Typically based on polyester or epoxy resins, these fillers are engineered to bond firmly to substrates like ABS plastics and fiberglass, materials commonly used in fairing construction. Polyester fillers are prized for their ease of sanding and shaping, offering moderate mechanical durability and flexibility, which is vital for shaping curved or vertical surfaces. However, their weather resistance is limited unless sealed properly to prevent damage from moisture and ultraviolet exposure.
In contrast, epoxy-based fillers provide superior mechanical performance, boasting higher tensile strength and elongation properties. This allows epoxy fillers to better absorb vibrations and resist cracking or chipping under repeated impacts or flexing, which are constant stresses during motorcycle rides. Their chemical and moisture resistance also make them inherently more durable against environmental factors like rain, temperature shifts, and road debris. Despite requiring longer cure times and being somewhat more challenging to sand, epoxy fillers ensure a longer-lasting repair that maintains integrity in harsh outdoor conditions.
Since fairings face prolonged exposure to UV rays, rain, and temperature fluctuations, integrating UV stabilizers or applying protective topcoats over the filler is critical to prevent degradation and discoloration. Ultimately, selecting a filler with balanced mechanical strength and weather resistance, aligned with proper priming and finishing techniques, significantly enhances the longevity and appearance of repaired motorcycle fairings. For further insights on maintaining fairing quality and repair durability, explore the resources available at Summit Fairings.
2. Enhancing Longevity of Motorcycle Fairings: Mastering Chemical and Environmental Resistance in Body Fillers
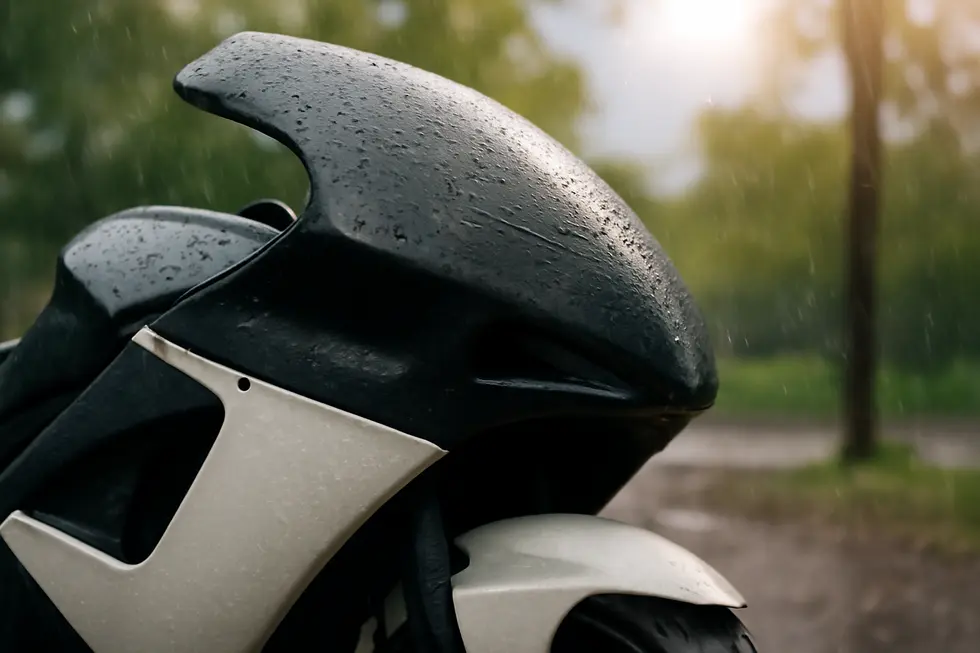
Motorcycle fairings face constant exposure to harsh elements that challenge the durability of body fillers. To maintain long-lasting repairs, body fillers must exhibit robust chemical and environmental resistance, addressing threats such as UV radiation, temperature shifts, moisture, and chemical contaminants. Fillers exposed to acids from rain, fuel spills, or road grime require formulations resilient enough to resist degradation without compromising adhesion or flexibility. While polyester-based fillers are widely used, their vulnerability to chemical attack makes epoxy-based fillers preferable for greater chemical resilience and structural integrity.
Environmental factors intensify the demands on body fillers. Prolonged UV exposure can cause fading, brittleness, or chalking, which weakens the repair area. Therefore, selecting fillers compatible with UV-resistant topcoats or clear coats is essential to shield the surface from sun damage. Furthermore, temperature variations induce expansion and contraction cycles, necessitating a filler with enough flexibility to prevent cracking over time. Moisture resistance is equally critical—water infiltration promotes delamination and corrosion beneath the filler, undermining the repair’s effectiveness.
Longevity also depends on preventative maintenance through periodic application of protective coatings tailored for motorcycle fairings. These coatings act as sacrificial barriers, protecting the filler and paint layers from UV rays, acid rain, and environmental pollutants. Combined with meticulous surface preparation—cleaning, priming, and proper curing—this strategy significantly extends service life. Incorporating fiber reinforcements within fillers can further enhance impact resistance and durability, features valuable for the demanding conditions motorcycle fairings endure.
For those seeking to preserve the aesthetics and resilience of repaired fairings, understanding and prioritizing chemical and environmental resistance in body fillers is indispensable. Exploring durable repair techniques and options can be found in detail at Explore the best motorcycle fairings at Summit Fairings.
Reference: Alibaba – CBR125R Fairing Kit (protective coatings recommendation)
Chapter 5: Post-Application Processes for Body Filler on Motorcycle Fairings: Priming and Painting for Longevity
1. Mastering Sanding and Priming for Durable, Flawless Motorcycle Fairing Repairs
Achieving a lasting, professional finish on motorcycle fairings after applying body filler hinges on meticulous sanding and priming steps. Begin with coarse-grade sandpaper (80-120 grit) to shape the filler effectively, leveling it flush with the fairing and removing excess material. Progress steadily to finer grits (220-320) to smooth the filler’s surface while carefully feathering edges into the original fairing. This blending prevents visible transitions and improves primer adhesion. Once sanding is complete, thoroughly cleanse the surface using a wax and grease remover or isopropyl alcohol to eliminate dust, oils, and contaminants that would otherwise compromise bonding.
Priming should involve thin, even coats of an automotive primer formulated specifically for plastics or fiberglass, essential materials in motorcycle fairings. Multiple light layers ensure complete sealing of the filler and create a uniform base for paint application, avoiding runs or uneven buildup common with heavy coats. After the primer cures, wet sanding with ultra-fine paper (400-600 grit) refines the surface further, eliminating minor imperfections and enhancing paint adherence.
This careful sequence—gradual sanding, diligent cleaning, precise priming, and final fine sanding—establishes an ideal foundation for painting. The resulting surface supports multiple thin paint coats, finishing with a clear coat that shields against weather, vibration, and wear. These post-application processes directly influence not only the paint’s appearance but also its durability, preventing common failures like peeling or cracking.
For an in-depth understanding of these techniques applied broadly within automotive refinishing, consult specialized resources in paint technology training such as AIPSGLOBAL Paint and Body Training. This foundation strengthens any repair endeavor on motorcycle fairings, ensuring each restoration stands up to the demands of the road.
For more insights into complemented repair processes and quality fairing options, explore this resource on motorcycle fairings.
2. Mastering Surface Preparation, Priming, and Coating Techniques for Durable Motorcycle Fairing Repairs
Achieving a long-lasting, professional finish on motorcycle fairings after body filler application hinges on meticulous surface preparation followed by precise priming and painting techniques. Once the filler is fully cured and sanded smooth, the surface must be cleansed thoroughly to eliminate dust, oils, and other contaminants; using a resin-grade acetone cleaner ensures the paint adheres uniformly without flaws. Applying a primer tailored for plastic or fiberglass fairings seals the filler and creates a consistent base, significantly enhancing paint adhesion and durability while preventing future peeling or cracking.
When selecting paint, using automotive-grade formulas designed for motorcycles or plastic components is critical. These paints deliver the flexibility and weather resistance needed to withstand vibration, UV exposure, and environmental stressors. Accurate color matching and blending are vital to seamlessly integrate repairs with the original fairing finish. Following painting, applying multiple thin clear coats protects against UV deterioration, scratches, and chemical exposure while deepening gloss and color vibrancy. Allowing proper drying intervals between coats minimizes imperfections such as bubbling or flaking, ensuring a smooth, resilient surface.
Adhering to manufacturer guidelines for drying conditions and application methods optimizes the finish quality. Leveraging quality primer kits and specialized motorcycle paints from trusted automotive suppliers further supports superior results. For those seeking to refine their technique, automotive painting courses offer valuable insights into advanced coating methods.
This strategic approach to cleaning, priming, painting, and sealing achieves a tough, aesthetically pleasing repair that endures the rigors of motorcycle riding with confidence. For additional insights on fairing options and care, explore explore the best motorcycle fairings at Summit Fairings.
More best practices and supply sources can be found at reputable automotive suppliers specializing in acetone thinners and motorcycle-specific paints.
Chapter 6: Surface Preparation and Curing Protocols for Body Filler Application on Motorcycle Fairings
1. Mastering Surface Preparation: Essential Techniques for Flawless Body Filler Application on Motorcycle Fairings
Achieving a durable and flawless repair on motorcycle fairings begins with meticulous surface preparation that ensures optimal body filler adhesion and finishing. The process starts by thoroughly cleaning the fairing to remove all dust, oils, grease, and silicone residues, using specialized degreasers or silicone remover solvents. This crucial step prevents contamination that could weaken the bond between the filler and the substrate.
Next, sanding the surface is vital to create a texture that promotes adhesion. Beginning with coarser grits such as 600, any imperfections or old paint layers are removed. Progressively finer grits between 800 and 1000 then refine the surface, smoothing it without compromising the roughness needed for a secure grip. Utilizing flexible sanding pads or foam blocks helps maintain even pressure on the fairing’s curves and complex shapes, avoiding gouges or uneven areas. Wet sanding techniques further enhance the process by reducing airborne dust and minimizing the risk of scratching or overheating the surface, resulting in a cleaner, smoother finish.
Inspection throughout sanding is important to avoid excessive removal of primer or clear coats; if identified, reapplication is necessary to maintain surface integrity. When applying the body filler, carefully mixing according to manufacturer guidelines guarantees proper curing and strength. Applying thin, even layers prevents sagging or cracking, and allowing full curing per specified times—affected by temperature and humidity—ensures the filler attains maximum durability before sanding.
After curing, sanding the filler with progressively finer grits blends it seamlessly into the fairing. Maintaining recommended ambient conditions during curing prevents adhesion and finish quality issues, and avoiding premature sanding or painting protects the repair’s longevity. For closed-loop best practices including detailed sanding demonstrations, a tutorial on wet sanding custom motorcycle paint offers valuable visuals. This rigorous approach to surface preparation readies motorcycle fairings for primer and paint, assuring a resilient and visually appealing finish.
For more insights into high-quality motorcycle fairings, explore the extensive selection at Summit Fairings.
Detailed wet sanding guide: https://www.youtube.com/watch?v=QqRIeh8lvwA
2. Mastering Curing Conditions and Environmental Controls for Flawless Motorcycle Fairing Repairs
Achieving a flawless finish when applying body filler to motorcycle fairings hinges on precise curing protocols combined with vigilant environmental control. The process begins with thorough cleaning and sanding of the surface to eliminate contaminants and establish optimal adhesion. After preparing the substrate, body filler must be mixed accurately to manufacturer specifications, ensuring the correct hardener ratio to trigger an effective cure.
Application in thin layers minimizes heat buildup, which can otherwise cause cracking or incomplete curing. Once applied, maintaining a stable temperature between 70°F and 80°F (21°C to 27°C) is critical for consistent hardening. High humidity and airborne dust jeopardize the curing process by introducing imperfections such as blisters or rough textures. To avoid this, the repair environment must be dust-free, well-ventilated, and shielded from direct sunlight or drafts that provoke uneven curing or surface flaws.
Accelerated curing using infrared or heat lamps is an option, but must be carefully controlled to prevent overheating that could damage the filler or underlying plastic. Post-cure sanding, progressing from medium to fine grits, smooths the surface to ready it for primer and paint, enhancing the longevity and aesthetic of the repair.
Strictly managing temperature, humidity, cleanliness, and airflow throughout the curing stages ensures the body filler bonds strongly and cures evenly, maintaining the fairing’s structural integrity amid the vibrations and weather conditions motorcycles endure. For further insights on preparing motorcycle fairings for refinishing, consult this comprehensive resource on motorcycle fairings and repairs.
Final thoughts
Proper repair of motorcycle fairings using body filler is an essential skill that can elevate the quality and longevity of repairs provided by businesses serving motorbike enthusiasts. By understanding the importance of selecting compatible and high-quality fillers that offer strong adhesion to plastic and fiberglass, business owners can ensure repairs withstand the demands of motorcycling. Mastering application techniques to prevent sag, coupled with meticulous sanding and shaping, produces flawless surfaces ready for finishing. Prioritizing durability through weather-resistant materials and adopting effective post-application priming and painting methods safeguards repairs against environmental and mechanical stressors. Finally, investing time in thorough surface preparation and following manufacturer curing protocols is critical to maximizing filler performance and extending the life of the repair. Integrating these detailed practices into your workflow not only raises repair standards but also builds trust, repeat business, and a solid reputation in a competitive marketplace.
Ready to elevate your ride? Summit Fairings delivers premium, custom-fit fairings that blend style and durability. Whether you’re chasing speed or turning heads, we’ve got your bike covered. Don’t wait—transform your machine today. Click, customize, and ride with confidence. Your perfect fairing is just a few clicks away. Act now!
About us
undefined