Cracked motorcycle fairings not only detract from the aesthetic appeal of a bike but can also impact its performance and safety. As a business owner in the motorcycle industry, understanding the nuances of fairing repair is crucial. This article delves into effective techniques for repairing cracked fairings, the necessary materials and tools, a comparison between DIY and professional repair options, and the cost-effectiveness of repairing versus replacing fairings. Each chapter offers valuable insights that can help you make informed decisions for your business and clients, ensuring that every motorcycle is in peak condition.
null
null
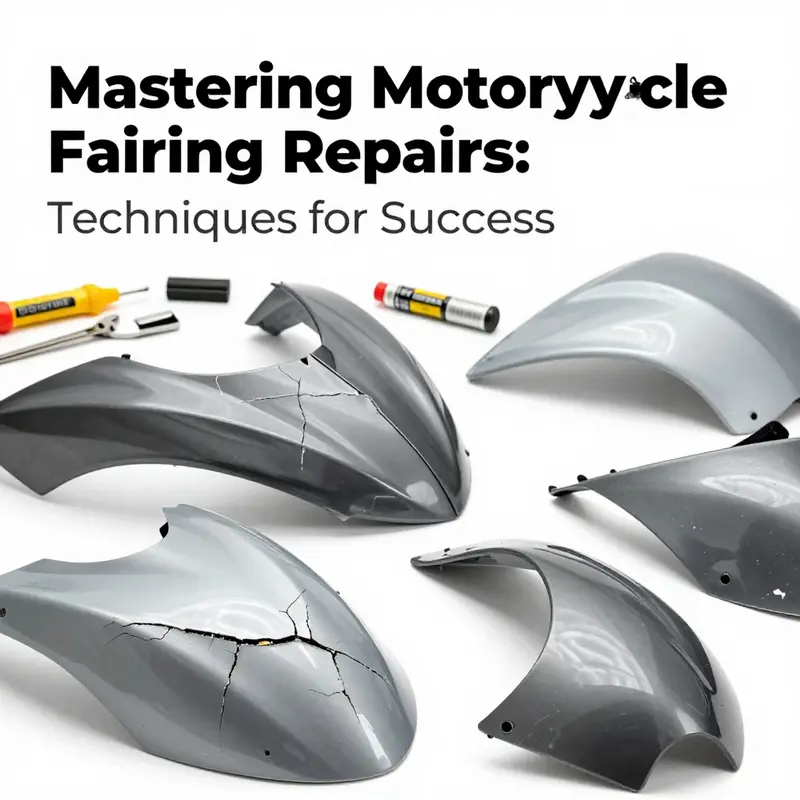
From Cracks to Confidence: Mastering Motorcycle Fairing Repairs
Cracks in a motorcycle fairing are more than cosmetic flaws. They can signal underlying stress, alter aerodynamics, and, if left untreated, worsen with vibration and weather. The repair path you choose depends on the material, the crack location, and how the panel bears load. With patience and proper technique, most cracks can be restored to near original contour and strength.
Identification matters: most modern fairings are ABS plastic or fiberglass. ABS is light and forgiving; fiberglass is stronger but different to repair due to its laminate and resin content. A crack near mounting points or on a seam deserves special attention. Knowing the material guides bonding agents, reinforcement, and finishing.
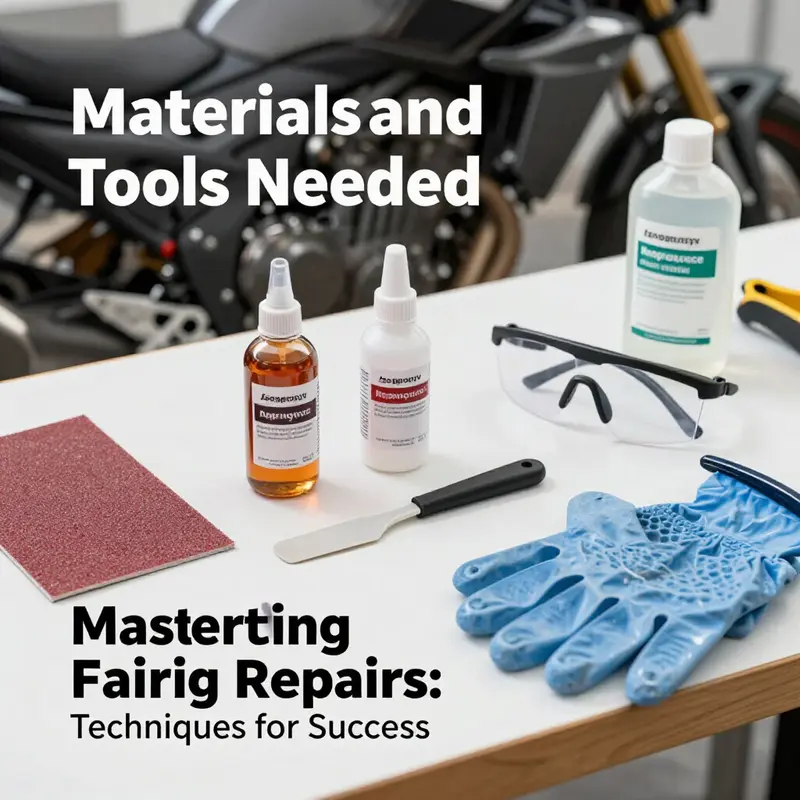
For ABS and small to moderate cracks: start with cleaning. Use a plastic-safe solvent to remove wax, oil, and wax residues. Isopropyl alcohol is a reliable choice. Dry thoroughly, inspect edges, and trim to sound material if edges are ragged. Lightly roughen the area with medium-grit sandpaper to create micro-roughness for adhesion.
Bonding options include plastic welding and two-part epoxy putty designed for plastics. Plastic welding fuses the crack by feeding resin through the joint with heat; epoxy putty fills and bridges gaps and can be feathered flush. For light to moderate cracks, a combination can work well: fill the crack with epoxy putty, then finish with a light weld at the perimeter to improve continuity. Avoid heavy-handed repairs that create stiffness mismatches and later failure under vibration.
For larger or structurally stressed cracks, reinforce with a fiberglass cloth layup. Cut cloth slightly larger than the repair, saturate with compatible resin, apply in thin layers, and allow to cure fully. After cure, fill with a compatible plastic or fiberglass filler and sand smooth to blend with the surrounding contour.
Finishing matters: sand progressively finer, clean dust, prime with a plastic-specific primer to reveal imperfections and improve paint adhesion, then color and clear-coat. Use light, multiple coats for even color and avoid runs. If the paint has metallics or special effects, align those reflections for a seamless look. Color matching helps, but perfect invisibility is uncommon; aim for a finish that looks cohesive with the rest of the panel.
Decision time: repair is often viable if the crack is cosmetic or limited in scope, while replacement is sensible when the panel is structurally compromised, the damage is near critical mounting points, or repair would require repeated disassembly. Replacement parts are widely available from manufacturers or aftermarket sources and can preserve geometry and aerodynamics.
Practice safe workshop habits: work in a well-ventilated area, wear eye protection, and mask off surrounding areas to avoid overspray. Patience and precision yield durable results that feel integrated with the bike rather than a visible patch. If you ever doubt the structural integrity after repair, consult a professional to evaluate whether replacement is the smarter long-term choice.
Between Glue and Gear: Navigating DIY Fixes and Pro Services for Cracked Motorcycle Fairings
A cracked motorcycle fairing can challenge a rider’s confidence and pride. The fairing shapes the bike’s aerodynamics, protects internal components, and helps keep lines and storage aligned. When a crack appears, the question becomes how to proceed without compromising safety or performance. The choice between DIY repair and professional service depends on damage scope, material, and riding demands. Small, non-structural cracks on ABS or polycarbonate can often be managed at home with patience and proper technique, while larger fractures near mounting points usually demand professional repair or replacement.
For DIY repairs, start with a careful cleaning of the area to remove dirt, oil, and wax that block adhesion. Use isopropyl alcohol and let it dry completely. Lightly sand the crack and surrounding area to create micro-roughness that helps the adhesive bite. Apply a two-part epoxy or a suitable adhesive, filling the crack and bringing the pieces into alignment. Allow the bond to cure fully according to the product’s instructions, often overnight in a stable environment. Reinforcement with copper tape or fiberglass mesh can add strength when cracks travel along seams or span higher-flex regions. Be mindful that improper reinforcement can cause bumps, misalignment, or finish issues if the surface contour is disturbed.
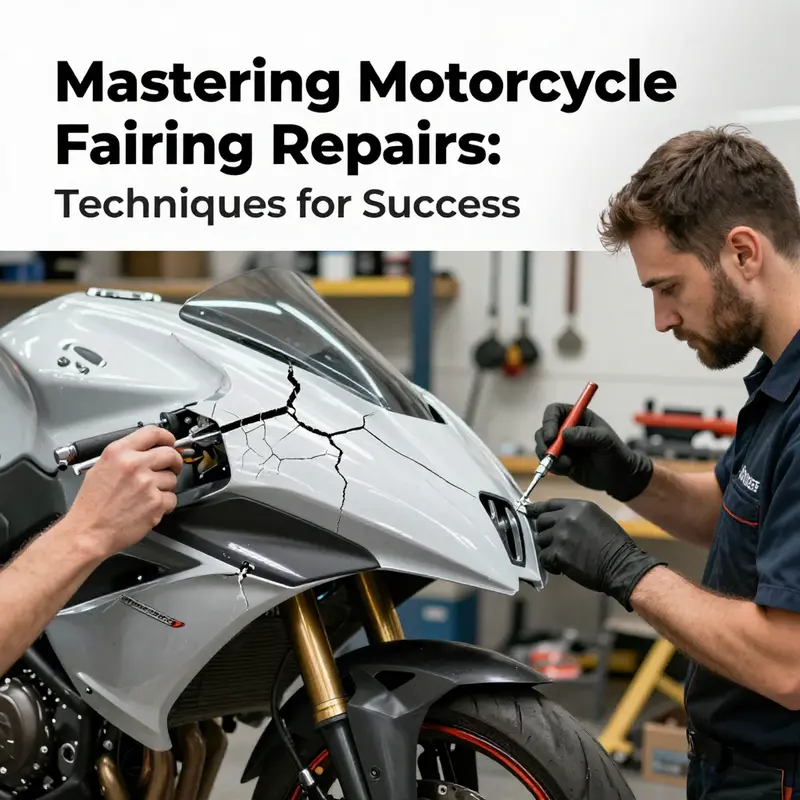
If the crack is large, travels through load paths, or you notice delamination or mounting-point damage, professional repair is usually wiser. Shops can perform plastic welding, specialized fillers, and precision color matching that preserve airflow and aesthetics. In many cases, replacing the affected panel or entire fairing is the most reliable way to restore original geometry, fit, and performance. A professional assessment also helps identify hidden damage that a casual inspection might miss, reducing the risk of a repeat failure on the road.
The decision hinges on a risk-vs-reward calculation: DIY can save time and money for small cracks in forgiving plastics; professional work offers predictability, especially for performance bikes or high-speed use. Whatever path you choose, plan for safety, accurate material matching, and a finish that looks and feels like the original. If you reach the point where the repair would compromise safety or aerodynamics, replacement is the prudent route. For riders curious about model-specific fit and color options, many shops and catalogs provide guidance, and OEM or high-quality aftermarket panels are often available to guarantee proper geometry and long-term reliability.
External reference: Cycle World’s DIY-vs-professional repair comparison offers a broad view of the strategy landscape and helps frame the decision in practical terms.
From Crack to Continuance: Weighing Repair versus Replacement for Cracked Motorcycle Fairings

When a motorcycle fairing develops a crack, the instinct to ride on can be tempered by a deeper question: should you repair what you already have, or replace it with a new piece? The decision sits at the intersection of practical engineering, budget, and the rider’s sense of the bike’s identity. A cracked fairing is more than a cosmetic blemish. Depending on where the crack runs and how deep it goes, it can affect aerodynamics, cooling airflow, and the mounting points that keep the shell aligned with the frame. Across many brands and model years, riders encounter cracks from rock impacts, curb scrapes, or the simple fatigue that comes from thousands of miles. The repair or replacement choice is not merely a calculation of price; it is a judgment about safety, performance, and the bike’s long life.
In many cases repairing a crack is the more economical option without sacrificing the finish or the structural role of the fairing. A well executed repair preserves the original fit and texture, maintaining color and line continuity that give a motorcycle its harmony from the side. The financial logic is straightforward: if the damage is moderate and the fairing remains structurally sound, a repair can cost only a fraction of a replacement part. A practical example shows a rider spending about £36, paint included, to repair a damaged fairing; after curing and finishing, the panel looked and functioned like new. Compare that to the £80 plus typically needed for a brand new replacement. The savings accumulate quickly for riders who plan to keep a bike for several seasons. While numbers vary with the crack, the principle holds: for moderate damage, repair is typically the most cost effective route.
The repair process begins with a clean slate: thorough cleaning with isopropyl alcohol to remove wax, oil, and dust that would compromise adhesion. Preparation continues with light sanding to roughen the surface without scouring through the plastic. The two part epoxy resin designed for plastics then takes its place as the backbone of the repair. The epoxy is mixed and applied in carefully controlled layers, filling the crack and any voids while bonding to the surrounding plastic. The curing period is where patience becomes part of the repair’s strength. Rushing the cure risks a bond that does not fully harden, with the possibility of later cracking or flexing under wind and vibration.
Finishing follows cure. After the epoxy has fully set, sanding begins again with progressively finer grits to flatten the repaired surface and blend with adjacent panels. The next steps mimic factory finishing: a primer that grips the plastic, a base coat in the bike color, and a clear coat to seal the surface against UV light, moisture, and micro-scratches. The aim is not merely to hide a flaw but to reintegrate the repaired area with the original sheen so that the eye cannot easily tell where the repair ends and the genuine plastic begins. With care, the repaired fairing can look and feel like a factory part, and in many cases offer similar stiffness and aerodynamics.
If the crack lies near a primary load path or near mounting points, the decision may tilt toward replacement. When a crack jeopardizes the mounting tab or a bonding seam near a joint, the risk of fatigue under vibration on the highway grows. The repair may still be viable for non critical areas away from hinges, but the more the crack approaches structural or sealing surfaces, the more the case for a new panel strengthens. Aerodynamics remains a reality at speed. A damaged surface that alters the airflow or adds drag can affect stability and efficiency. In these circumstances replacement is often the quicker, cleaner option with a guaranteed fit.
DIY repairs can yield savings when the damage is straightforward, and many riders enjoy maintaining the bike as a project. Professional repairs bring benefits as well. A skilled technician can assess crack orientation, thickness, and the surrounding plastic’s glass transition behavior, ensuring the repair accounts for temperature and UV exposure. A shop can help with color matching, texture replication, and the subtle gloss level that makes a repaired area blend with the rest of the fairing. The trade off is labor cost, waiting time, and the chance of imperfect color match. For many riders the decision sits on damage severity, budget, and how much they value preserving the original panel versus attaining a flawless new part.
From a materials perspective the epoxy approach leverages the bonding strengths of two part epoxies designed for ABS and polycarbonate. Preparation steps are not merely ritual but essential to a durable repair. The bond must resist flexing and shear as the bike vibrates and as the engine heat cycles through the fairing. Adhesives that do not tolerate heat or UV light will degrade, leading to a recrack, peel, or failure at the bond line. A properly executed repair, followed by primer and paint, can yield results that are both perceptually and functionally robust.
The longevity question: No repair can guarantee indefinite life. If the repaired area endures another rock strike or a collision, or if the repair shows delamination or peel under heat, replacement offers a cleaner path. In a broader sense repair becomes a staged approach extending the bike’s usable life until a restoration or upgrade is planned.
Appearance alignment and sustainability matter. A well executed repair that matches color, gloss, and texture preserves the bike’s visual integrity and authenticity. Repairing rather than discarding reduces waste and supports a circular approach to parts and materials, aligning with maintenance minded riders who want to extend life instead of buying new panels.
For those who want more on standards and application, resources discuss material compatibility, surface preparation, finishing steps, and color matching. If your curiosity extends beyond the repair bench, browse replacement options to assess fit and compatibility with your model. The goal is to proceed with clarity and confidence, whether you choose repair or replacement.
Final thoughts
Understanding the processes and considerations involved in repairing cracked motorcycle fairings can help business owners make informed decisions that enhance customer satisfaction and bike safety. Whether opting for DIY repairs or professional services, the knowledge of techniques, materials, and financial implications will empower you to address cracked fairings effectively. Investing in the right methods can extend the life of the motorcycle, ultimately fostering loyalty and trust among customers.